> ## Documentation Index
> Fetch the complete documentation index at: https://docs.inworld.ai/llms.txt
> Use this file to discover all available pages before exploring further.
# Voice Design
> Create a custom voice from a text description
Inworld's Voice Design lets you create a completely new voice from a text description. It is perfect for when you need a unique voice but can't find the right voice in our Voice Library and don't have existing audio recordings for voice cloning.
Voice Design uses a model to generate a voice based on the following two inputs:
1. **Voice description** - A text description of the voice you have in mind (e.g., age, gender, accent, tone, pitch).
2. **Script** - The text the voice will speak. This shapes the generated voice, so using a script that matches the intended voice produces the best results.
Each time you generate, we'll return up to three voice previews so you can listen, compare, and select the ones that work best for your project.
You can also design a voice from your terminal with the [Inworld CLI](/tts/resources/inworld-cli): `inworld tts design "A warm, deep narrator voice"` runs an interactive wizard that generates previews, lets you listen and pick, then publishes.
To get started, there are two ways to use voice design:
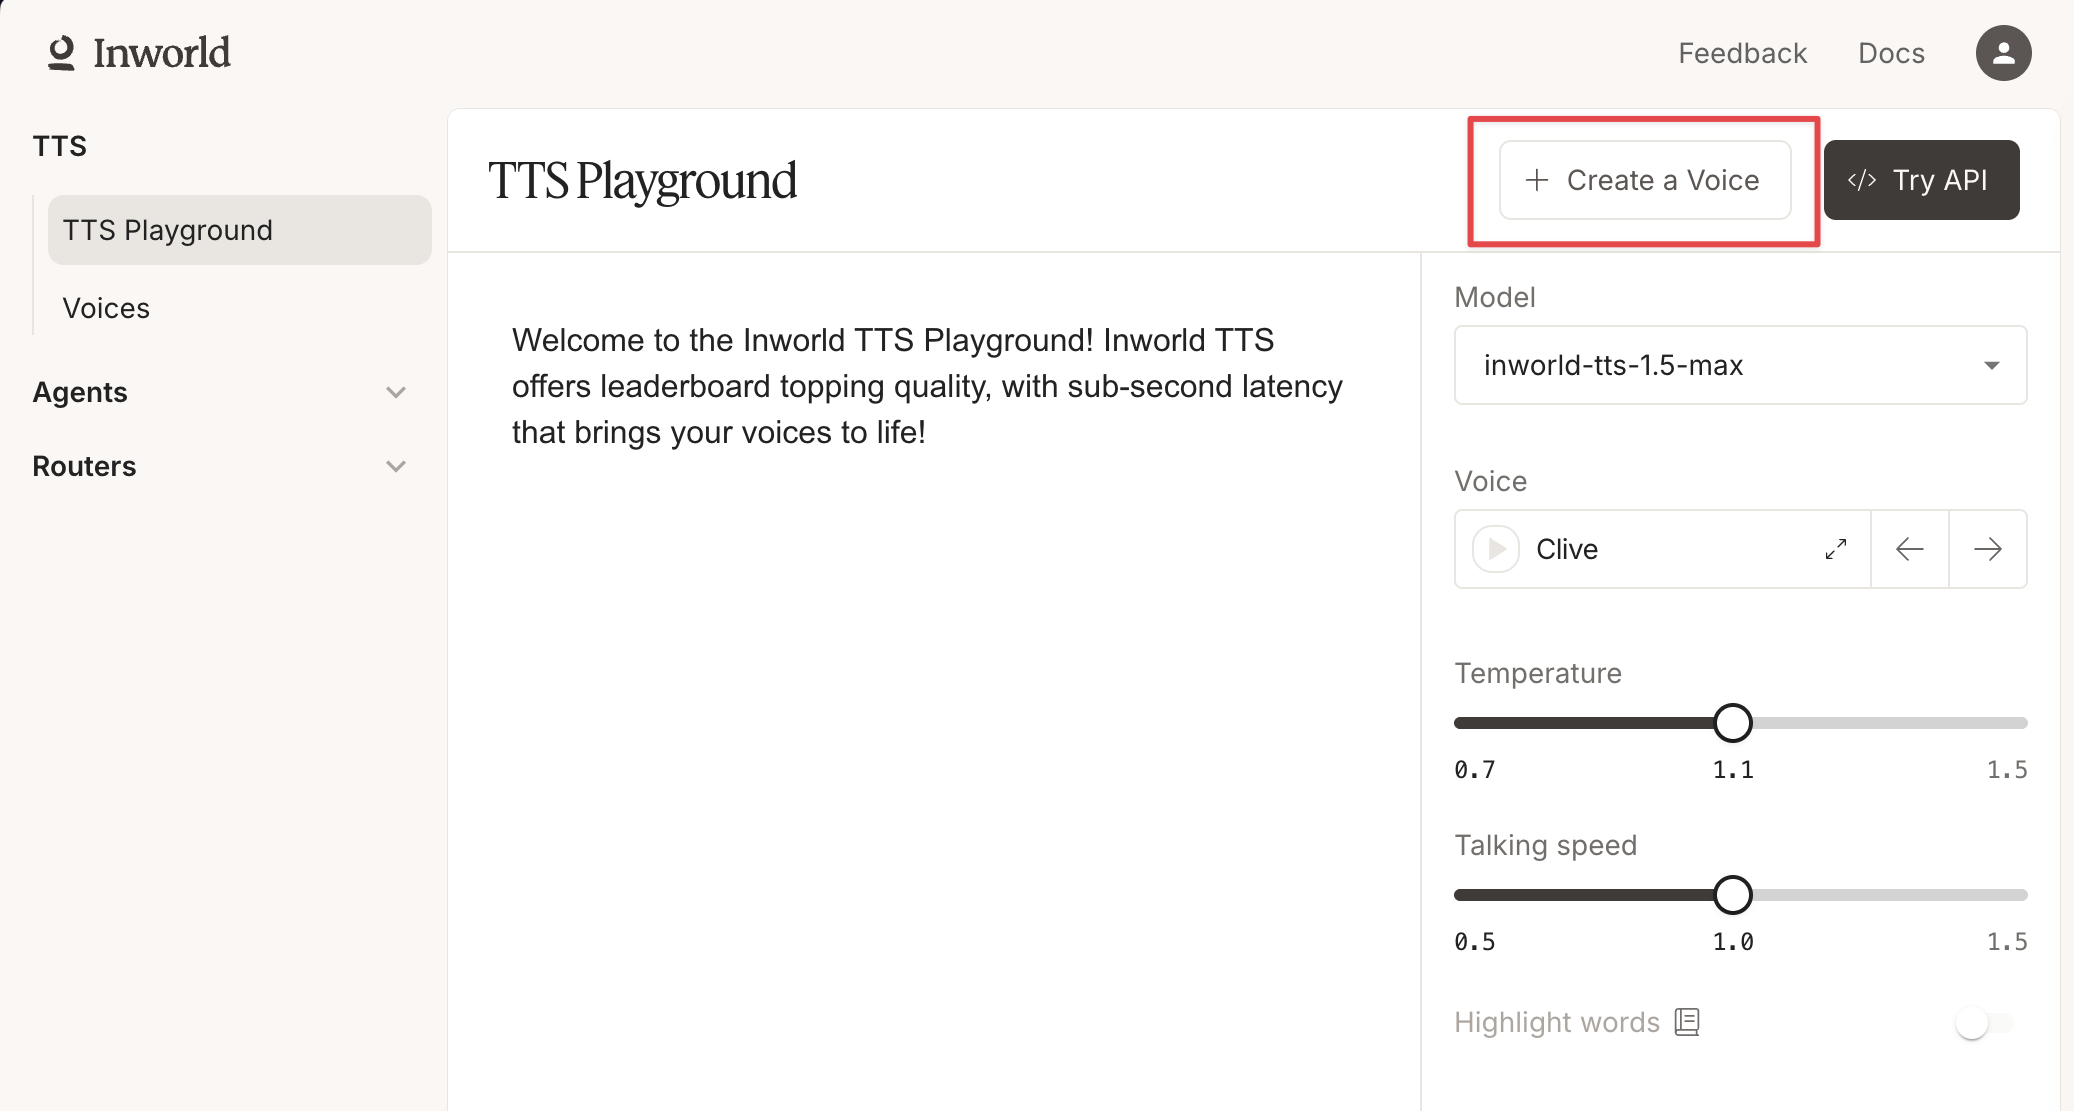
1. Through [**Inworld Portal**](https://platform.inworld.ai) - Go to [**TTS Playground**](https://platform.inworld.ai/tts-playground) > **Create Voice** > **Design** and follow the guided flow.
2. Via [API](/api-reference/voiceAPI/voiceservice/design-voice) or [SDK](#design-a-voice-with-the-sdk) - Useful if you want to generate a lot of voices or expose this capability to your users.
## Design a Voice in Portal
In [Portal](https://platform.inworld.ai/), select [**TTS Playground**](https://platform.inworld.ai/tts-playground) from the left-hand side panel. Click **Create Voice** and select **Design**.
 Describe the voice you want to create. The description must be in English and be between 30 and 250 characters.
Keep your description concise but specific, so the model can most accurately produce what you have in mind. A good voice description should include:
* **Gender and age range** (e.g., "a mid-20s to early 30s female voice", "a middle-aged male voice")
* **Accent** (e.g., "British accent", "Southern American accent")
* **Pitch and pace** (e.g., "low-pitched", "fast-paced", "steady pace")
* **Tone and emotion** (e.g., "warm and friendly", "authoritative and composed")
* **Timbre** (e.g., "rich and smooth", "slightly raspy", "clear and bright")
**Example**: "A middle-aged male voice with a clear British accent speaking at a steady pace and with a neutral tone."
Use the **Improve Description** button to automatically enhance your description based on best practices. This adds missing attributes like pitch, pace, tone, and timbre to help the model produce a more accurate voice.
Choose the language for your generated voice. If you're using the auto-generated script, the script will be written in your selected language.
Select how you want to provide the script that the voice will speak:
* **Auto-generate script** - The system automatically generates a script that matches your voice description in the selected language. This is the easiest option and works well for most use cases.
* **Write my own** - Write a custom script for the voice to speak. For best results, scripts should result in 5 to 15 seconds of audio, which is roughly between 50 and 200 characters in English.
The script shapes the voice that gets generated. Use a script that matches your imagined voice, and the model will tailor the voice to suit the content it's speaking.
Click **Generate voice**, which will create up to 3 voice previews. Listen to each preview by clicking the play button, then select the voice(s) you want to keep.
Each generation produces slightly different results. If the first set of voices doesn't sound right, click **Generate voice** again to regenerate or adjust your description and voice script to better match what you have in mind before regenerating.
Check out our [Voice Design Best Practices](/tts/best-practices/voice-design) guide for helpful tips and tricks to improve your designed voices.
After selecting one or more voices, give each voice a name, add optional tags, and save them to your voice library. Your designed voices will appear alongside your other voices in the TTS Playground.
To use your designed voice via API, copy the voice ID from the TTS Playground. Use that value for the `voiceId` when making an API call. See our [Quickstart](/quickstart-tts) to learn how to make your first API call.
## Design a Voice with the SDK
You can also design voices programmatically using [`designVoice()`](/tts/node-sdk#designvoiceoptions) / [`design_voice()`](/tts/python-sdk#design_voiceoptions) and [`publishVoice()`](/tts/node-sdk#publishvoiceoptions) / [`publish_voice()`](/tts/python-sdk#publish_voiceoptions) from the Inworld TTS SDK.
```javascript JavaScript (SDK) theme={"system"}
import { InworldTTS } from '@inworld/tts';
const tts = InworldTTS(); // reads INWORLD_API_KEY from env
const result = await tts.designVoice({
designPrompt: 'A warm, friendly female voice with a slight British accent',
previewText: 'Hello! Welcome to our application.',
numberOfSamples: 3,
});
// Listen to previews, then publish
const voice = await tts.publishVoice({
voice: result.previewVoices[0].voiceId,
displayName: 'My Designed Voice',
});
```
```python Python (SDK) theme={"system"}
from inworld_tts import InworldTTS
tts = InworldTTS() # reads INWORLD_API_KEY from env
result = tts.design_voice(
design_prompt="A warm, friendly female voice with a slight British accent",
preview_text="Hello! Welcome to our application.",
number_of_samples=3,
)
# Listen to previews, then publish
voice = tts.publish_voice(
voice=result.preview_voices[0].voice_id,
display_name="My Designed Voice",
)
```
## Voice Design API Reference And Examples
If you want to automate voice design (for example, to support creator onboarding at scale), use the Voice Design API.
* **Design a voice API reference**: [Design a voice](/api-reference/voiceAPI/voiceservice/design-voice)
* **Publish a voice API reference**: [Publish a voice](/api-reference/voiceAPI/voiceservice/publish-voice)
* **Python example**: [example\_voice\_design\_publish.py](https://github.com/inworld-ai/inworld-api-examples/blob/main/tts/python/example_voice_design_publish.py)
* **JavaScript example**: [example\_voice\_design\_publish.js](https://github.com/inworld-ai/inworld-api-examples/blob/main/tts/js/example_voice_design_publish.js)
## Next Steps
Learn best practices for designing voices.
Clone an existing voice with as little as 3 seconds of audio.
Learn how to make your first TTS API call in minutes.
Describe the voice you want to create. The description must be in English and be between 30 and 250 characters.
Keep your description concise but specific, so the model can most accurately produce what you have in mind. A good voice description should include:
* **Gender and age range** (e.g., "a mid-20s to early 30s female voice", "a middle-aged male voice")
* **Accent** (e.g., "British accent", "Southern American accent")
* **Pitch and pace** (e.g., "low-pitched", "fast-paced", "steady pace")
* **Tone and emotion** (e.g., "warm and friendly", "authoritative and composed")
* **Timbre** (e.g., "rich and smooth", "slightly raspy", "clear and bright")
**Example**: "A middle-aged male voice with a clear British accent speaking at a steady pace and with a neutral tone."
Use the **Improve Description** button to automatically enhance your description based on best practices. This adds missing attributes like pitch, pace, tone, and timbre to help the model produce a more accurate voice.
Choose the language for your generated voice. If you're using the auto-generated script, the script will be written in your selected language.
Select how you want to provide the script that the voice will speak:
* **Auto-generate script** - The system automatically generates a script that matches your voice description in the selected language. This is the easiest option and works well for most use cases.
* **Write my own** - Write a custom script for the voice to speak. For best results, scripts should result in 5 to 15 seconds of audio, which is roughly between 50 and 200 characters in English.
The script shapes the voice that gets generated. Use a script that matches your imagined voice, and the model will tailor the voice to suit the content it's speaking.
Click **Generate voice**, which will create up to 3 voice previews. Listen to each preview by clicking the play button, then select the voice(s) you want to keep.
Each generation produces slightly different results. If the first set of voices doesn't sound right, click **Generate voice** again to regenerate or adjust your description and voice script to better match what you have in mind before regenerating.
Check out our [Voice Design Best Practices](/tts/best-practices/voice-design) guide for helpful tips and tricks to improve your designed voices.
After selecting one or more voices, give each voice a name, add optional tags, and save them to your voice library. Your designed voices will appear alongside your other voices in the TTS Playground.
To use your designed voice via API, copy the voice ID from the TTS Playground. Use that value for the `voiceId` when making an API call. See our [Quickstart](/quickstart-tts) to learn how to make your first API call.
## Design a Voice with the SDK
You can also design voices programmatically using [`designVoice()`](/tts/node-sdk#designvoiceoptions) / [`design_voice()`](/tts/python-sdk#design_voiceoptions) and [`publishVoice()`](/tts/node-sdk#publishvoiceoptions) / [`publish_voice()`](/tts/python-sdk#publish_voiceoptions) from the Inworld TTS SDK.
```javascript JavaScript (SDK) theme={"system"}
import { InworldTTS } from '@inworld/tts';
const tts = InworldTTS(); // reads INWORLD_API_KEY from env
const result = await tts.designVoice({
designPrompt: 'A warm, friendly female voice with a slight British accent',
previewText: 'Hello! Welcome to our application.',
numberOfSamples: 3,
});
// Listen to previews, then publish
const voice = await tts.publishVoice({
voice: result.previewVoices[0].voiceId,
displayName: 'My Designed Voice',
});
```
```python Python (SDK) theme={"system"}
from inworld_tts import InworldTTS
tts = InworldTTS() # reads INWORLD_API_KEY from env
result = tts.design_voice(
design_prompt="A warm, friendly female voice with a slight British accent",
preview_text="Hello! Welcome to our application.",
number_of_samples=3,
)
# Listen to previews, then publish
voice = tts.publish_voice(
voice=result.preview_voices[0].voice_id,
display_name="My Designed Voice",
)
```
## Voice Design API Reference And Examples
If you want to automate voice design (for example, to support creator onboarding at scale), use the Voice Design API.
* **Design a voice API reference**: [Design a voice](/api-reference/voiceAPI/voiceservice/design-voice)
* **Publish a voice API reference**: [Publish a voice](/api-reference/voiceAPI/voiceservice/publish-voice)
* **Python example**: [example\_voice\_design\_publish.py](https://github.com/inworld-ai/inworld-api-examples/blob/main/tts/python/example_voice_design_publish.py)
* **JavaScript example**: [example\_voice\_design\_publish.js](https://github.com/inworld-ai/inworld-api-examples/blob/main/tts/js/example_voice_design_publish.js)
## Next Steps
Learn best practices for designing voices.
Clone an existing voice with as little as 3 seconds of audio.
Learn how to make your first TTS API call in minutes.