Tutorial: Talking Cube
Preface
This page will guide you through the creation of a simple cube that is powered by Inworld! This can act as a good first test in creating custom Inworld characters within Unreal Engine.
Requirements
This guide will assume that you have already created an Inworld Studio Workspace, and have setup both an Inworld Player, and an Inworld Scene.
Creating the Talking Cube
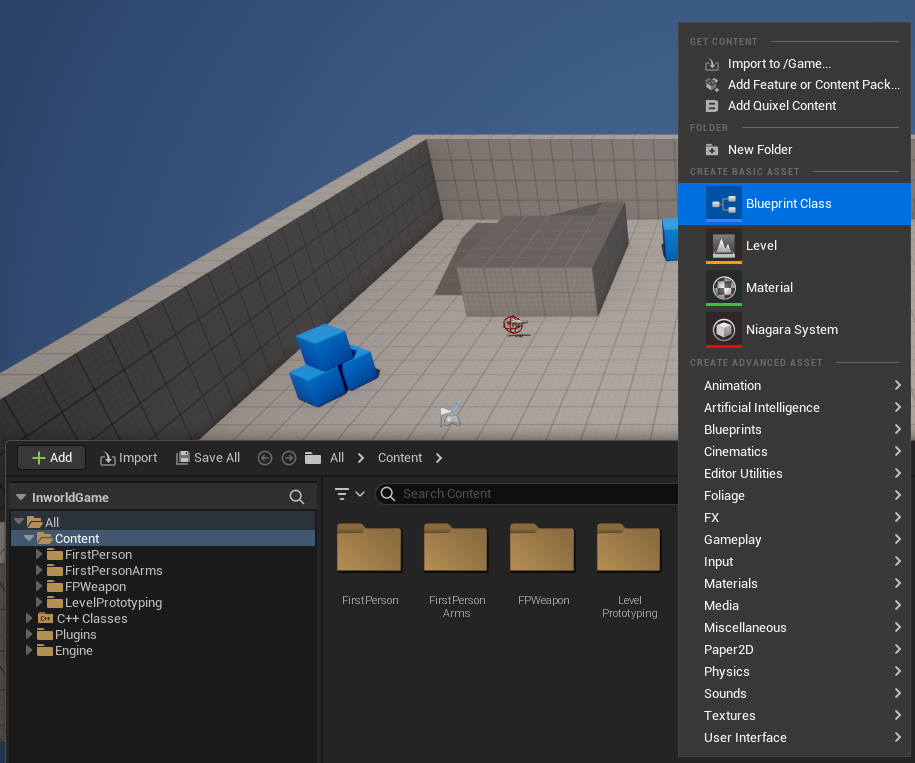
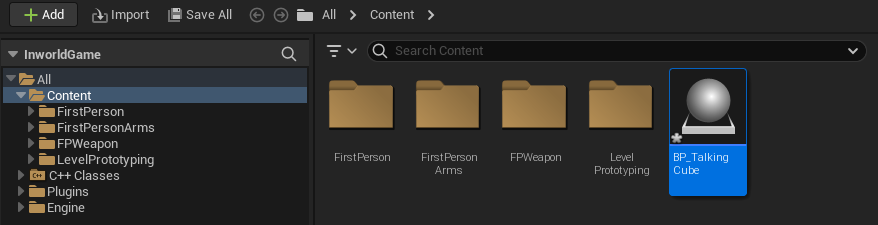
Create a new Actor Blueprint by right-clicking within the Unreal Engine Content Browser and selecting Create Basic Asset > Blueprint Class.
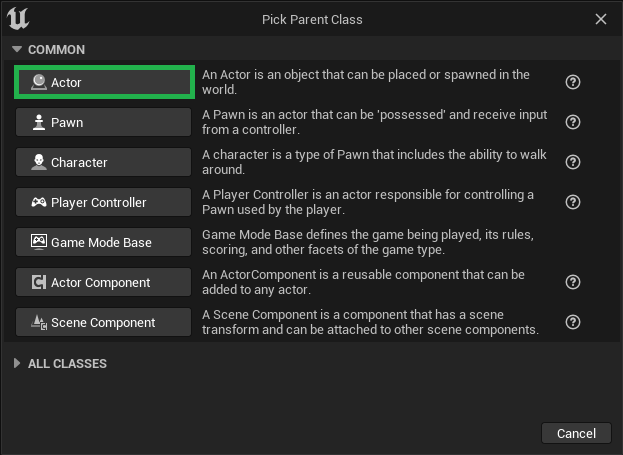
From the resulting Pick Parent Class popup, select Actor.
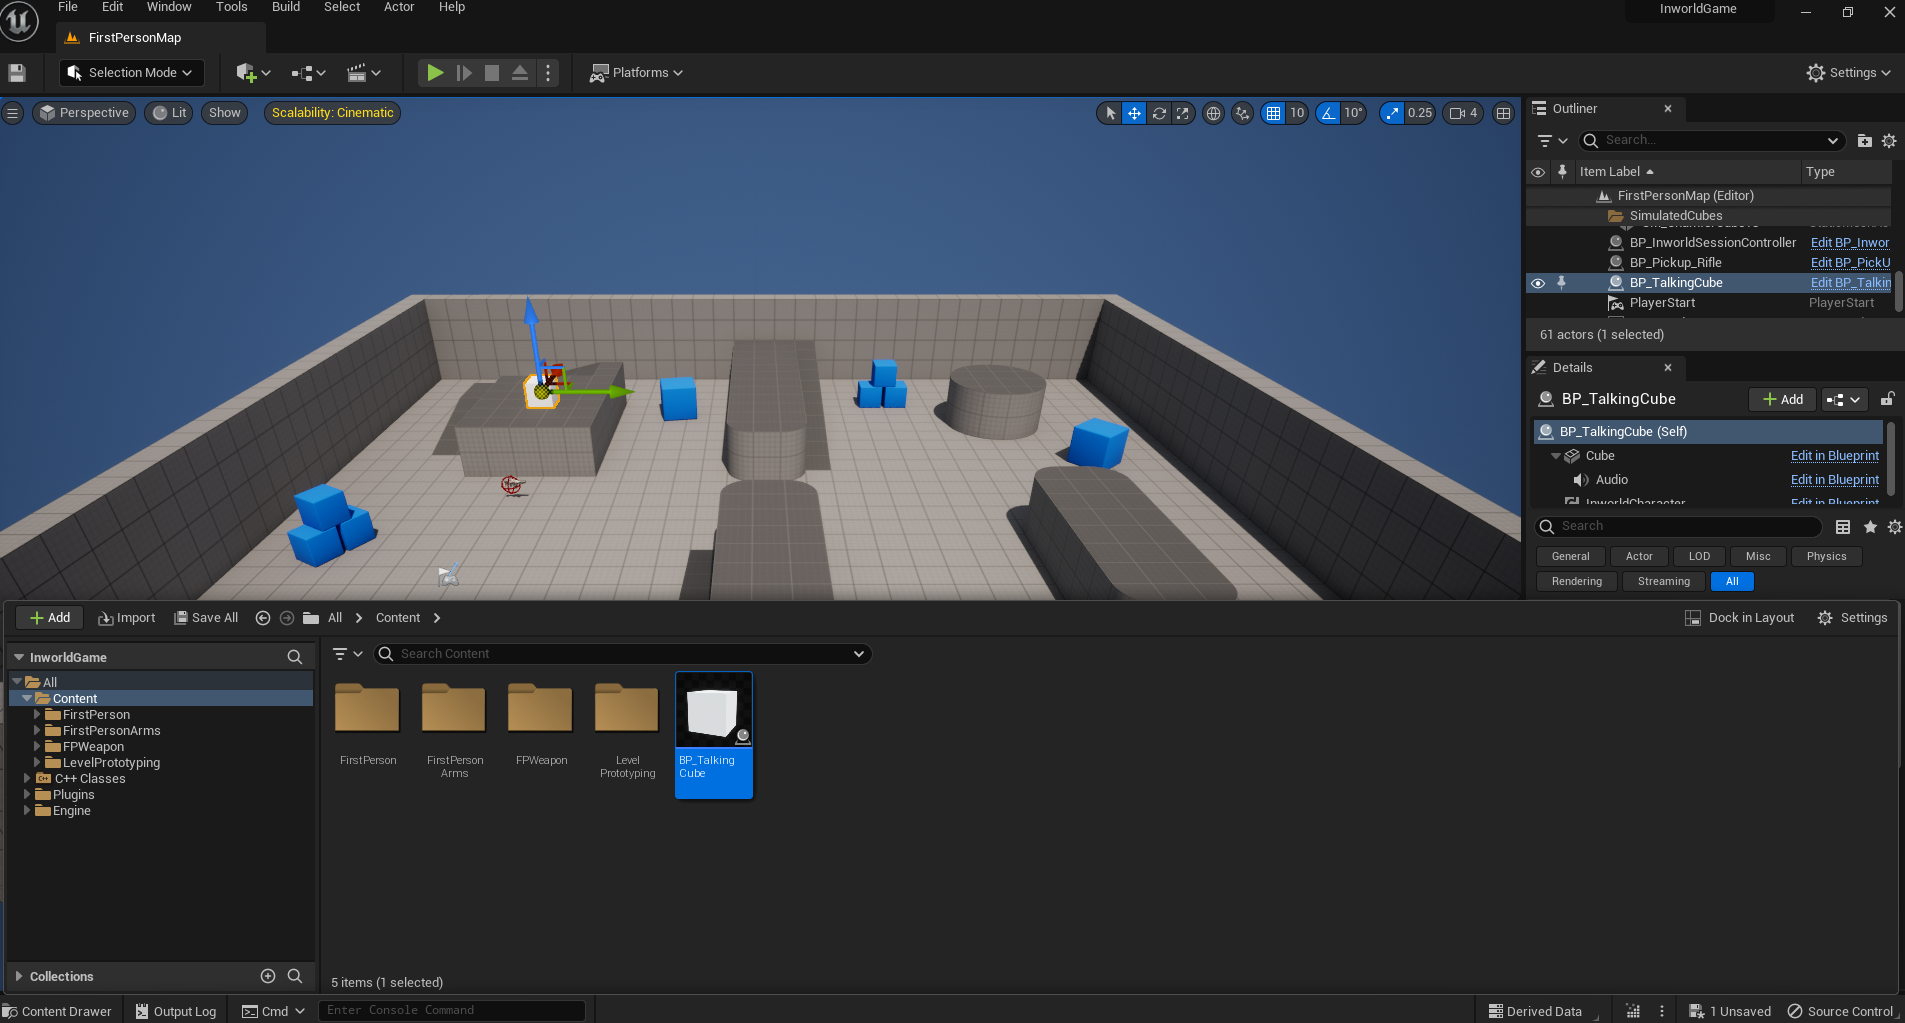
Name the resulting Blueprint asset BP_TalkingCube.
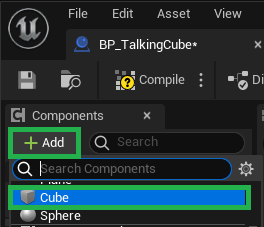
Open up the BP_TalkingCube Blueprint asset, and select + Add > Cube. This will add a cube mesh to our Actor.
At this point, you may simply wish to use our Quick Setup to add the required Inworld Components. However, for this tutorial, we will add them manually.
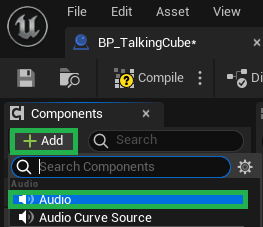
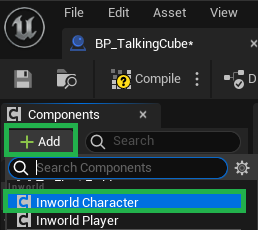
Add an AudioComponent by selecing + Add > Audio, and an InworldCharacterComponent by selecting + Add > Inworld Character.
Edit the InworldCharacterComponent's default values. Set the desired brain name for the Cube, and add an InworldCharacterPlaybackAudio so that the audio data is sent through the Audio Component that was created.
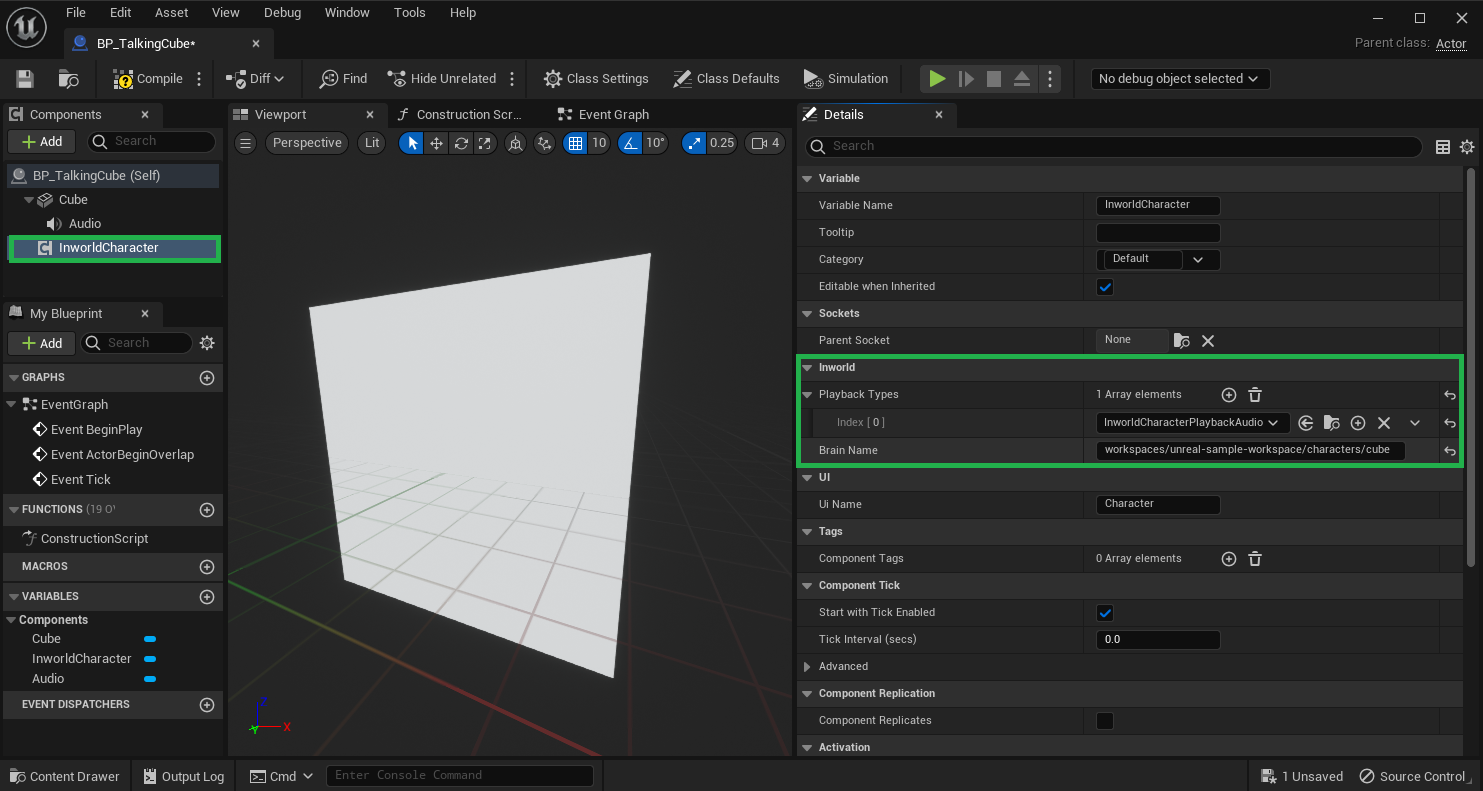
Ensure that your Cube Blueprint looks like the following, and isn't missing any of the required components.

Lastly, drag and drop your new BP_TalkingCube into your level. Press play, and talk to the cube using your microphone. It will talk back!