Team & access
Team management
Manage your organization's team members and roles in Inworld.
Team management lets you control who has access to your Inworld account and what they can do. It is available on Builder plan and above.
Once your team exists, you can verify your email domains so colleagues join automatically. On Enterprise, connect SAML SSO to let them sign in through your identity provider, and turn on SCIM provisioning to let your IdP manage membership.
Create a Team
To create a team:
-
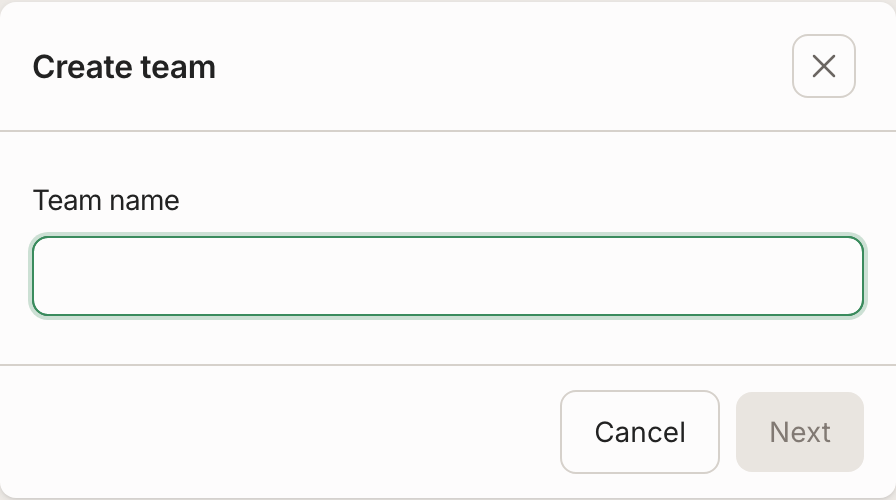
Open the account menu at the bottom of the sidebar and click Create team.
-
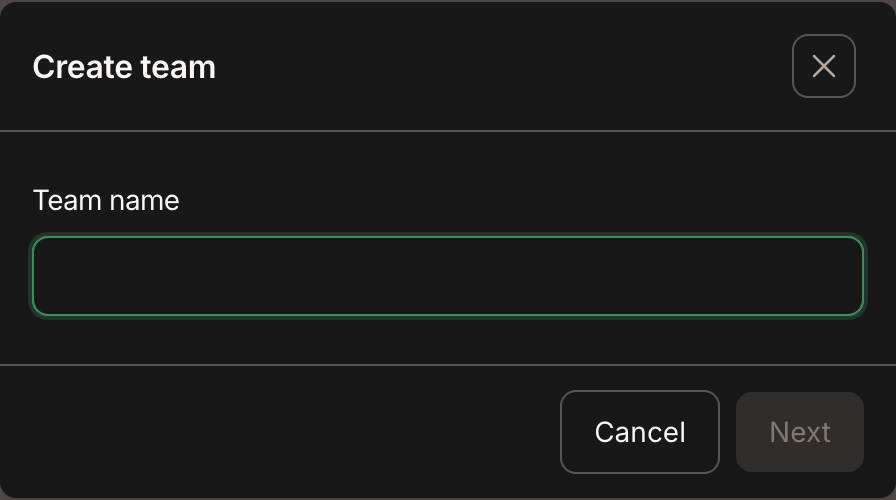
Enter a team name
-
Select a workspace to invite all team members to
You can own one team at a time.
Why a shared workspace is required
Step 3 is required. A team must always keep at least one workspace shared with the whole team, so everyone you add has somewhere to collaborate. This means:
- Adding people is blocked without one. Invitations, domain auto-join, and bulk member imports all fail until at least one workspace is shared with the team.
- You cannot un-share the last one. Removing team-wide sharing from your only shared workspace — or deleting that workspace — is rejected. Share another workspace first.
You can share a workspace with the team from the workspace itself, or with Share with team in the Invite member dialog.
Managing team members
Owners and Admins can manage team members from the Team page in the Portal.
Organization roles
Organization-level roles control account-wide permissions such as billing and user management. These are separate from workspace and project roles, which control access to specific workspaces and their contents.
| Role | Billing | Members | Domains, SSO & SCIM |
|---|---|---|---|
| Owner | ✅ | ✅ | ✅ |
| Admin | View only | ✅ | View only |
| Member | View only | View only | ⛔ |
✅ view and change · View only view but not change · ⛔ no access
- Owner — Full control over billing and team membership. Every organization must have at least one owner.
- Admin — Can invite and remove team members and change roles. Can see billing and update the billing contact email, but cannot change the plan or payment details.
- Member — Can access the organization's workspaces and see who else is in the team, but cannot change team settings.
Every organization must keep at least one Owner. Changing the last Owner's role or removing them is rejected. Promote someone else to Owner first.
Inviting a member
- Go to the Team page.
- Click Invite member.
- Enter the user's email address and select a role.
- The user receives an email invitation to join the organization.
Invitations also work for people who do not have an Inworld account yet — they sign up with the invited address and land directly in your organization.
The invitee must sign in with the exact address you invited and explicitly accept. An invitation can never add someone without their consent. Acceptance requires the invitee's own verified email, so forwarding the link does not let a colleague join in their place.
Inviting the same email at the same role twice returns the existing invitation rather than sending a duplicate.
Invitation lifecycle
Pending invitations are listed on the Invitations tab, which also shows how many are still awaiting a response.
| State | Meaning |
|---|---|
| Pending | Sent, awaiting the invitee's response. |
| Accepted | The invitee joined and is now a member. |
| Declined | The invitee explicitly declined. |
| Expired | Not answered within 7 days. |
- Invitations expire after 7 days. To re-send, revoke the old invitation and invite the address again.
- Revoking a pending invitation stops its link working immediately.
- Roles are fixed at invitation time. To change the role an invitee will receive, revoke and re-invite at the new role.
- Revoking an already-accepted invitation only cleans up the record. It does not undo the membership it created. Remove the member instead.
Changing a member's role
- Go to the Team page.
- Find the member and select a new role from the dropdown.
Select several members with the checkboxes to change roles or remove people in bulk.
Removing a member
- Go to the Team page.
- Find the member and click Remove.
Members synced from your identity provider
If your organization uses SCIM provisioning, members created by your identity provider are marked Synced on the Team page. You cannot edit or remove them there because their membership and role come from your IdP. Change them in your IdP, or turn SCIM provisioning off to manage them in the Portal again.
Personal vs. Team accounts
If you belong to a Team, you can switch between your Personal account and any Team you're part of using the account menu at the bottom of the sidebar. Your selection determines which workspaces appear in the workspace selector:
- Personal or Team workspaces — When you select your Personal account, you see your personal workspaces. When you select a Team, you see workspaces that were shared with that Team.
- Shared with me — Workspaces that have been shared directly with your account always appear here, no matter which account or Team you have selected.