VSCode
Overview
Inworld VS Code Extension is a collaboration tool for accelerating character design iteration, enabling the uploading and downloading of Inworld entities, which can then be stored in Git. This extension can significantly enhance workflow efficiency and collaboration, by empowering team members to track changes, compare versions, and revert to previous iterations as needed. This guide covers how to set up and use this collaboration tool with your project.
Installing and Using Inworld Extension
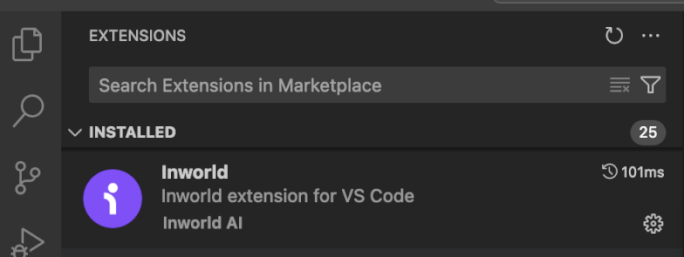
To install and use the Inworld Collaboration Tool in your VS Code instance, find it in the VS Code Extension Marketplace by the name: "inworld-vscode"
After finding the Inworld Collaboration Tool, follow the steps below.
1. Open a Folder
Open VS Code and open a folder. For example, create a folder named "inworld" in your projects directory.
Then, open the Extension View from the sidebar, indicated by an “i" icon.

2. Set Up Configuration
You then need to set up the configuration for VS Code.
To do this, you must provide the information below:
-
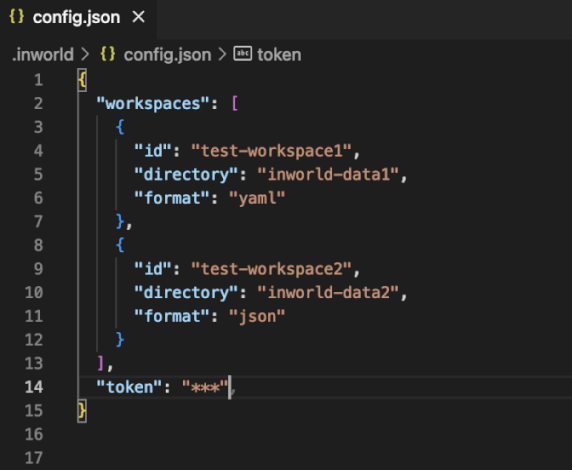
Workspace Name: The name of the workspace. For example, within the address: "https://studio.inworld.ai/workspaces/test-workspace/characters" you would use the "test-workspace" section of the URL.
-
Workspace Directory: The path to the directory where all workspace data is placed. You can create this directory manually or it will be created automatically during the first pull. The path can be relative or absolute.
-
Format: The format the workspace uses. Possible options are JSON and YAML. By default, the JSON file format will be used to store Inworld entities. For Goals, it is recommended you use the YAML format because the Studio interface works only with YAML.
-
Studio API Token: The unique studio API token. You can find this token in your profile settings in the Manage Account section, as shown on the image below.

3: Check Configuration
Take a moment to check your configuration before proceeding.
If the configuration is finished successfully, the extension indicates that all required fields are valid with a Green checkmark.

If any items are displayed in Red, these errors must be fixed in the Config file then Saved.
In each case, follow the instructions provided for each line.

4. Auto-Generation Feature
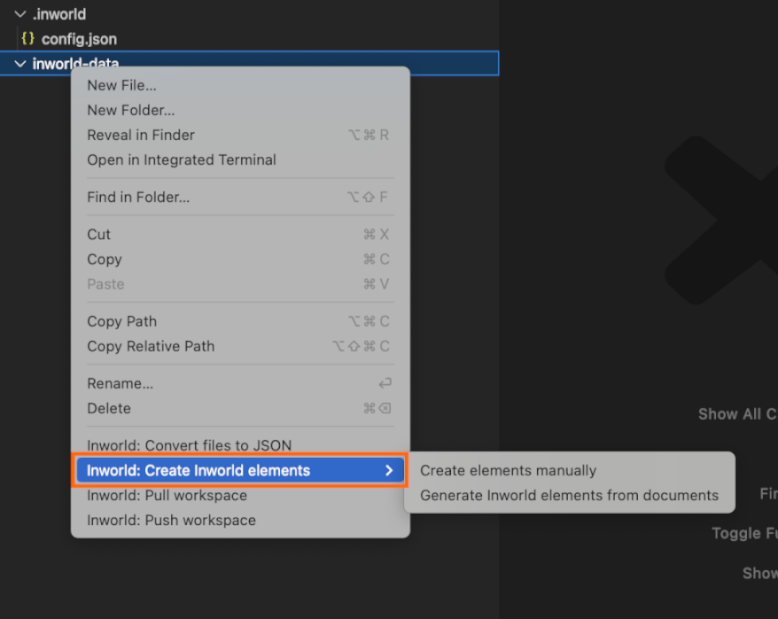
Select input file(s) on the Create tab and press the AI Generate button.

Additionally, you can right-click on Inworld-Data and use the Inworld: Create Inworld Elements context menu to generate entities.
Once the entities are generated, you are now ready to work within the VSCode workspace.
You can now create a scene, character, or knowledge from scratch using the Extension page, the Context Menu, or a Palette Command.
5. Pull and Push
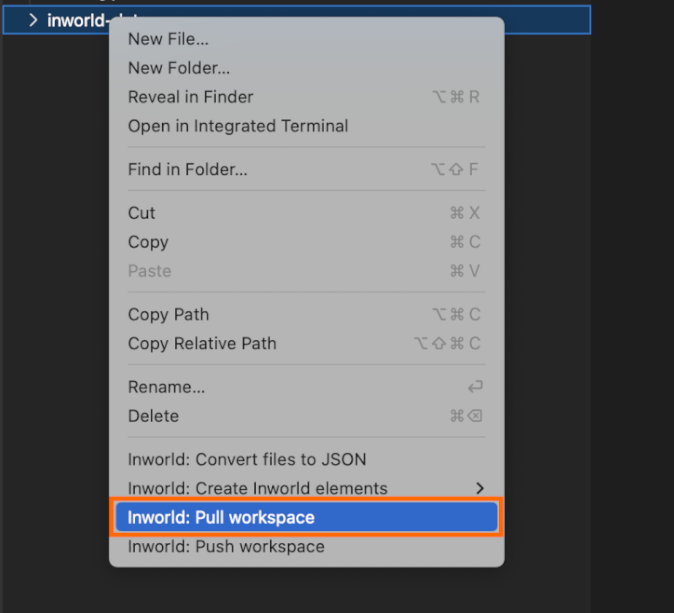
When needed, you can also pull data such as scenes, characters, and knowledge as local files through the methods shown below.
From the Extension page.

From the Context Menu.
6. Add Additional Workspaces
You may work with multiple workspaces. If needed, add another workspace to the "workspaces" array in the configuration file.
7. Clear Workspace
If you need to clear your workspace in one click in Studio (such as for test purposes), you can use the VSCode command Inworld: Clear Workspace.
This command is available in the Palette View.

This command removes all elements from Studio such as characters, scenes, and knowledge. No local files are affected.
Be careful using this command, as it is impossible to restore deleted elements.
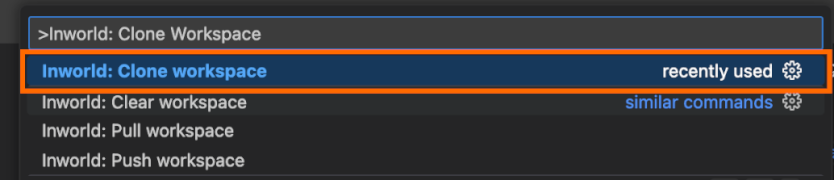
8. Clone Workspace
If you need to clone your workspace, you can use the VSCode command Inworld: Clone Workspace.
This command is available in the Palette View.
When using this command, you also need to create and select a folder for the files to be cloned into.
Doing this will copy files to a new folder with temporary resource names, allowing you to push this cloned workspace as a new workspace to Studio at a later time.
When you do this, the configuration file is updated automatically.