Roblox SDK
Inworld Roblox SDK Install and Setup Instructions
Overview
The Roblox SDK Toolkit connects your Roblox game to Inworld and easily allows for adding characters to an existing place. This SDK uses the Inworld Simple REST to communicate with Inworld.
Table of Contents
- Requirements
- Part 1 - Inworld API Keys
- Part 2 - Roblox Inworld SDK Toolkit Plugin Setup
- Development Notes
Requirements
- An Inworld Account
- Inworld Simple REST
- An Internet Connection
- A Web Browser
- Inworld.ai Account API Key, API Secret and a default Scene ID
Part 1 - Inworld API Keys
-
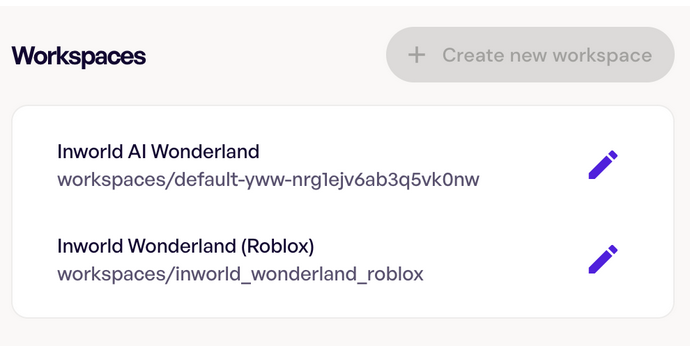
Open your web browser, navigate to https://studio.inworld.ai and login if you’re not already. In your Inworld Studio select the workspace you wish to integrate into your Roblox Game.
-
Click on the Change Button.

- Select the Inworld Workspace you want to use.
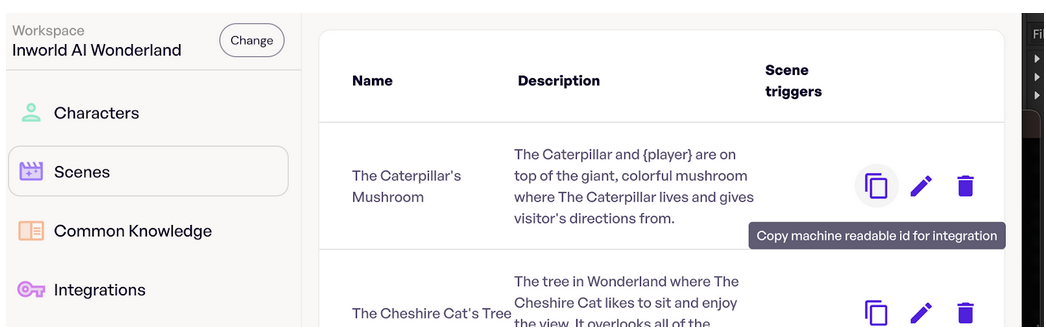
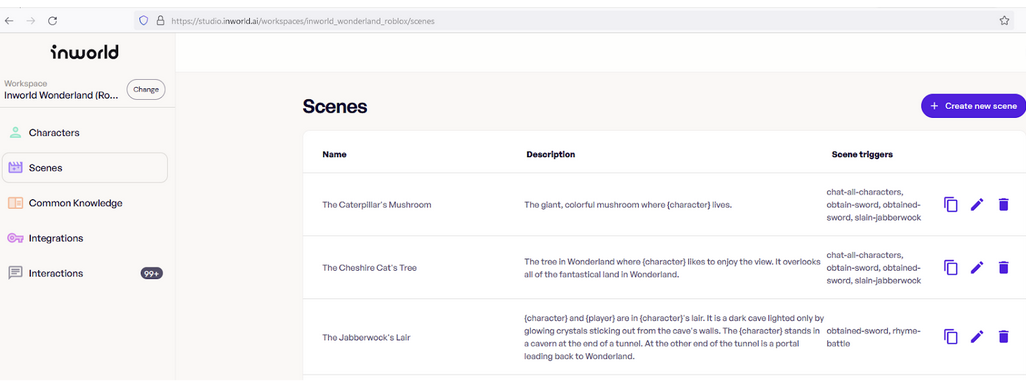
- Click on Scenes from the Studio’s left menu. Select any scene from the list to be used to test the connection to the Inworld Simple REST. Choose the scene and click on the Copy Machine Readable ID button on the left.
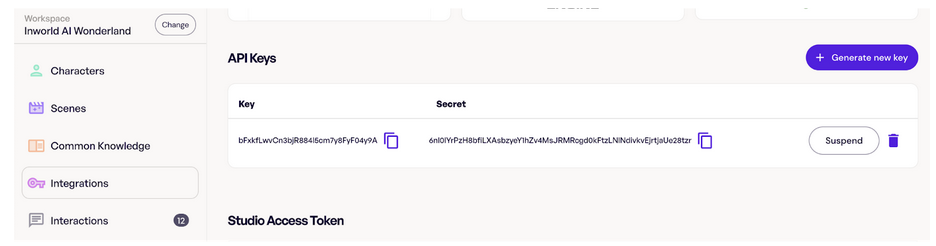
- Now click on Integrations from the Studio’s left menu and save your Workspace specific API Key and Secret.
Part 2 - Roblox Inworld SDK Toolkit Plugin Setup
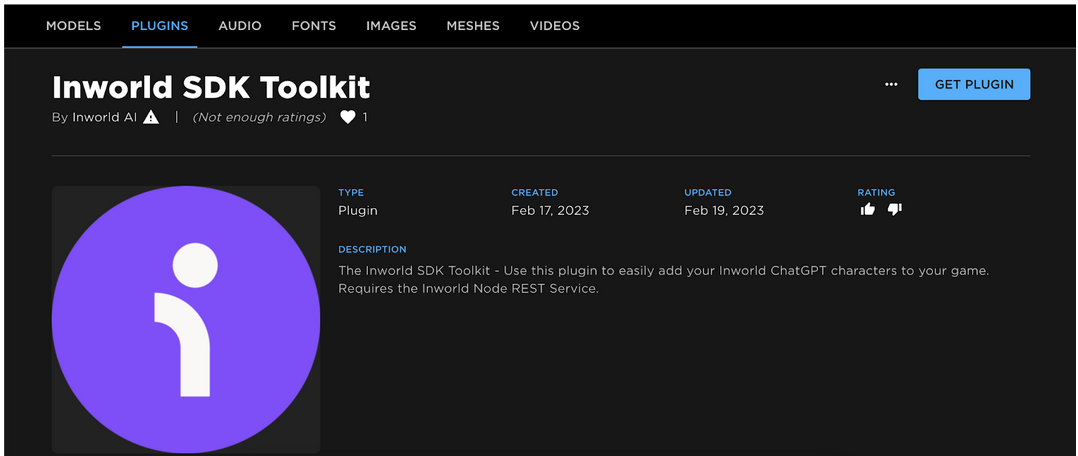
- Open Roblox Studio and then in your web browser go to the Roblox Inworld SDK Toolkit page to download the plugin using the link here: Inworld-SDK-Toolkit Plugin
- Click on ‘Get Plugin’ and install the the Inworld SDK Toolkit plugin for Roblox.
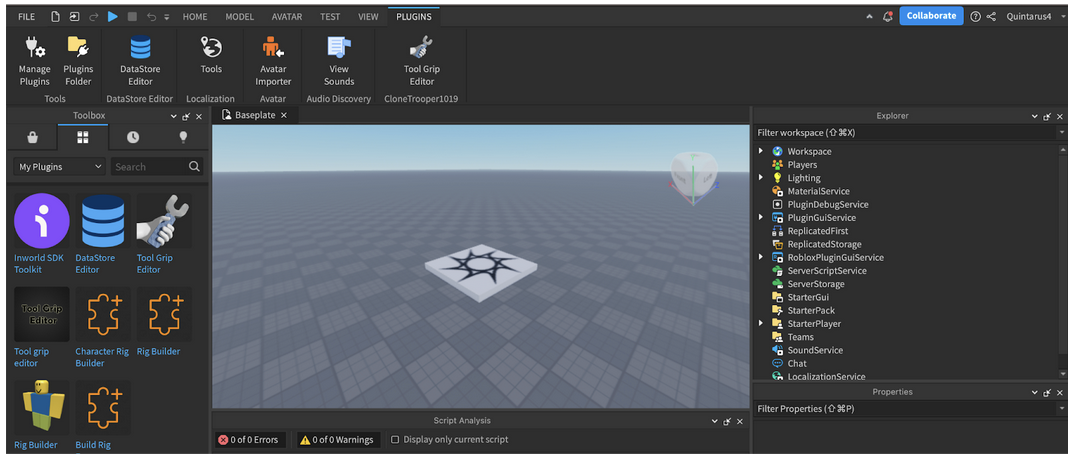
- In Roblox open the Tookbox, goto the Inventory tab and select My Plugins from the drop down and the Inworld SDK Toolkit will be listed.
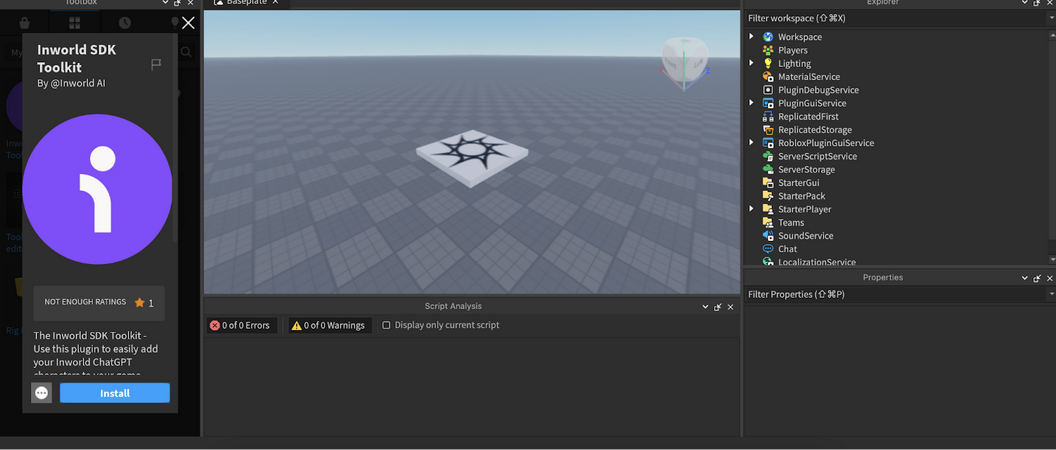
- Click to open it and then click on Install.
- The plugin will then appear in your Roblox Studio Plugins tab.
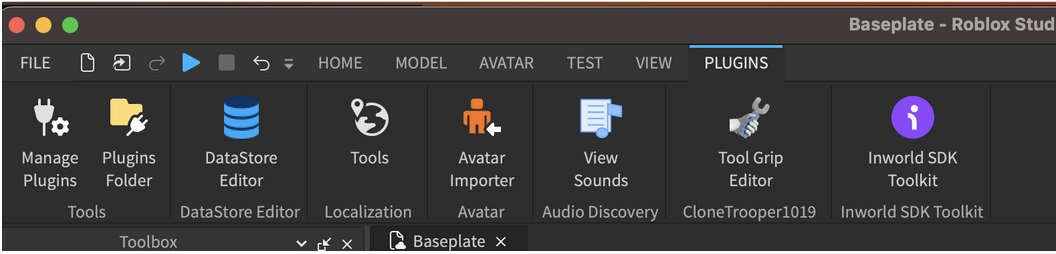
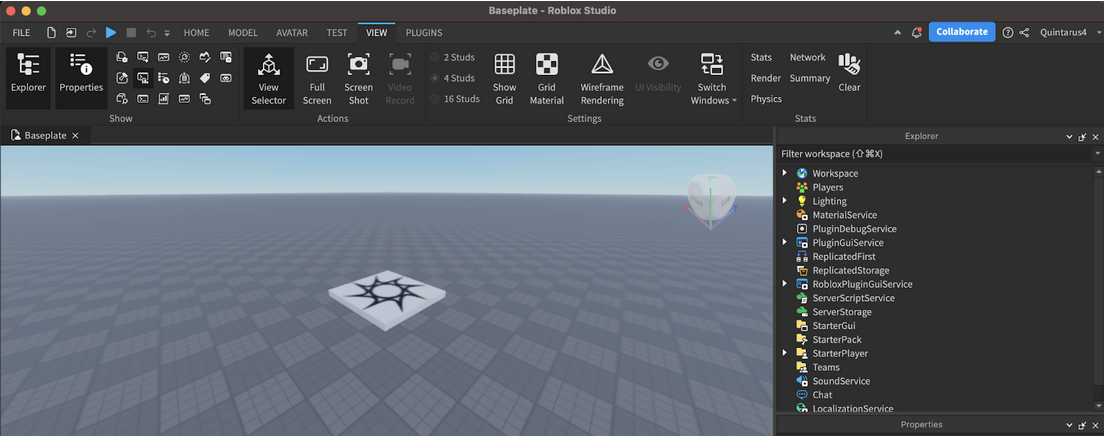
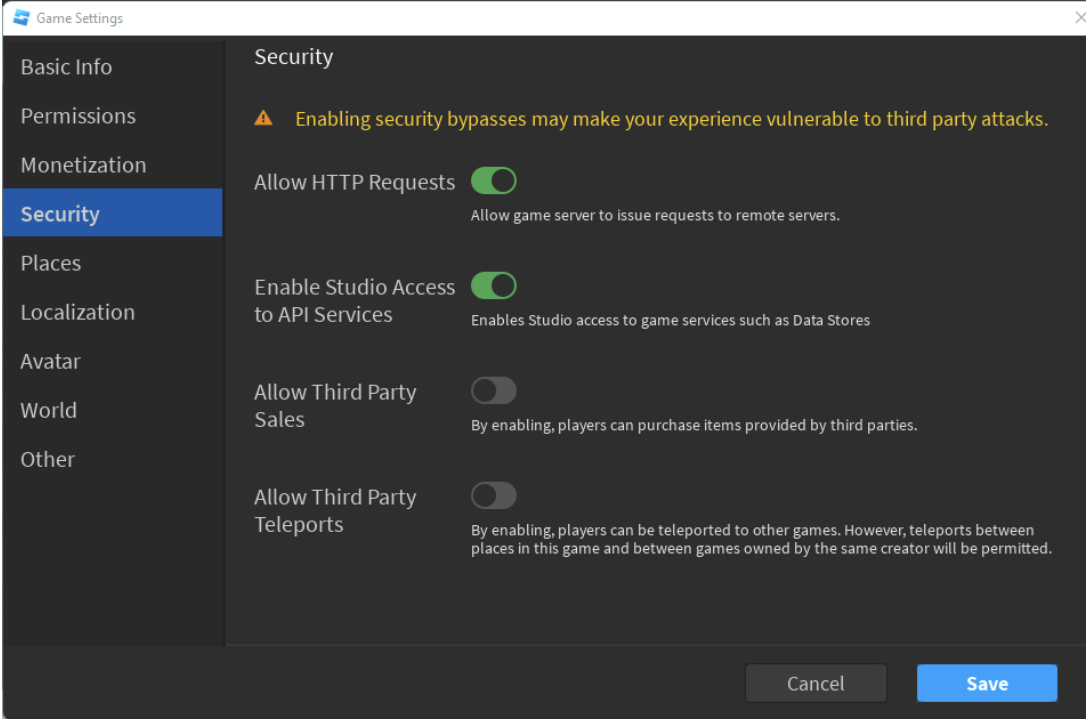
- Note: In Roblox make sure that ‘Allow HTTP Requests’ and ‘Enabled Studio Access to API Services’ is enabled for any game using this SDK.
-
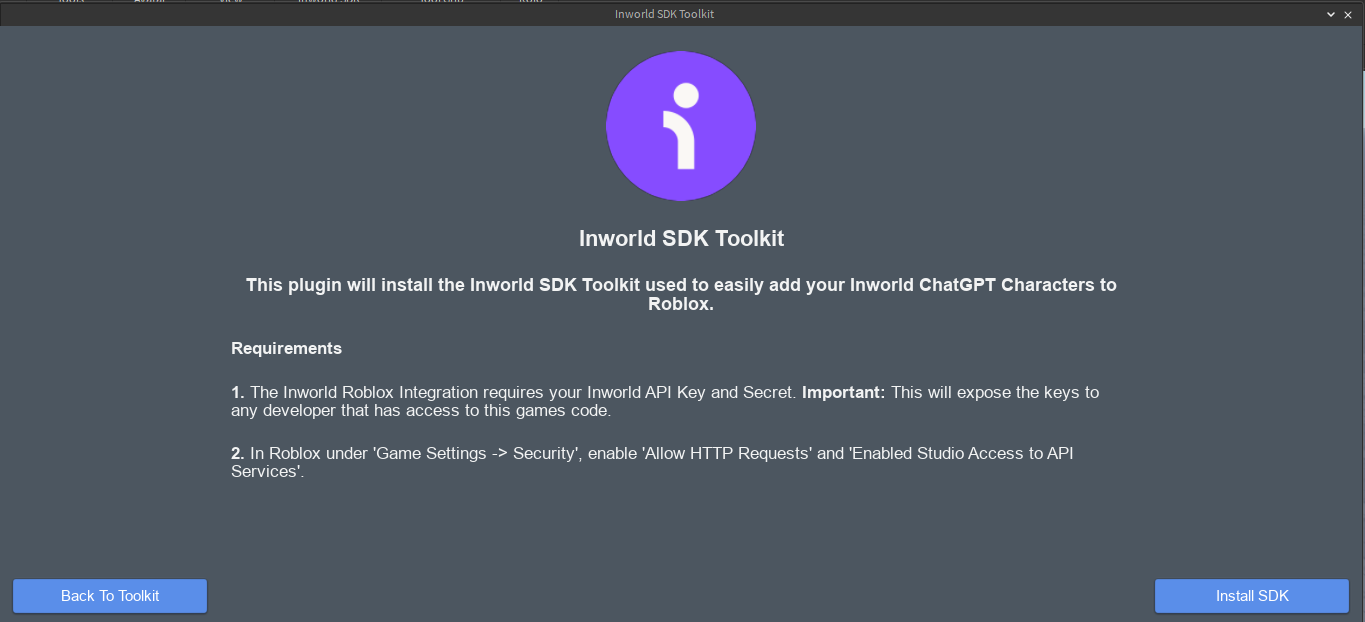
Click on the Inworld SDK Toolkit to bring up the SDK installer. Click on the ‘Install SDK’ button to begin the process. Note that you will need to install the SDK for every new game you want.
-
Click on Install SDK
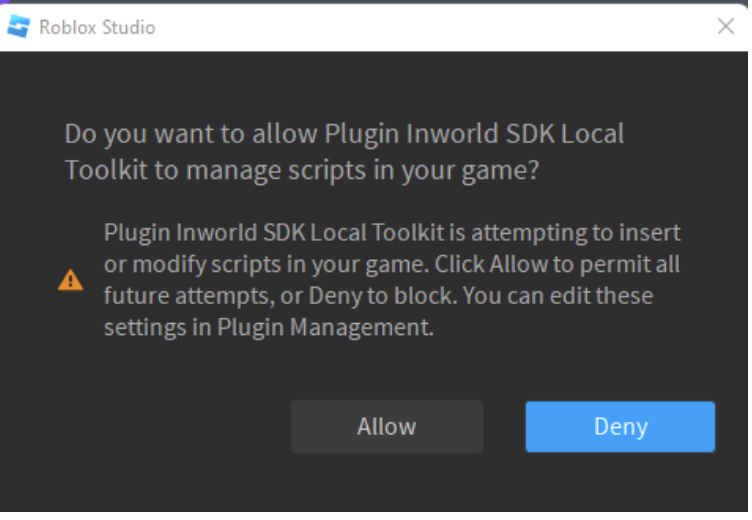
- You may see two alerts, one to allow Script Injection and anotehr to allow API Access to 'studio.inworld.ai' or 'api.inworld.ai'. Click Allow for both. Then, click on Install SDK again. Note, that if you click Deny by mistake, go to the end of this document for insturctions on how to allow it.
- Once you’ve installed the SDK you will see the Generate Characters screen.
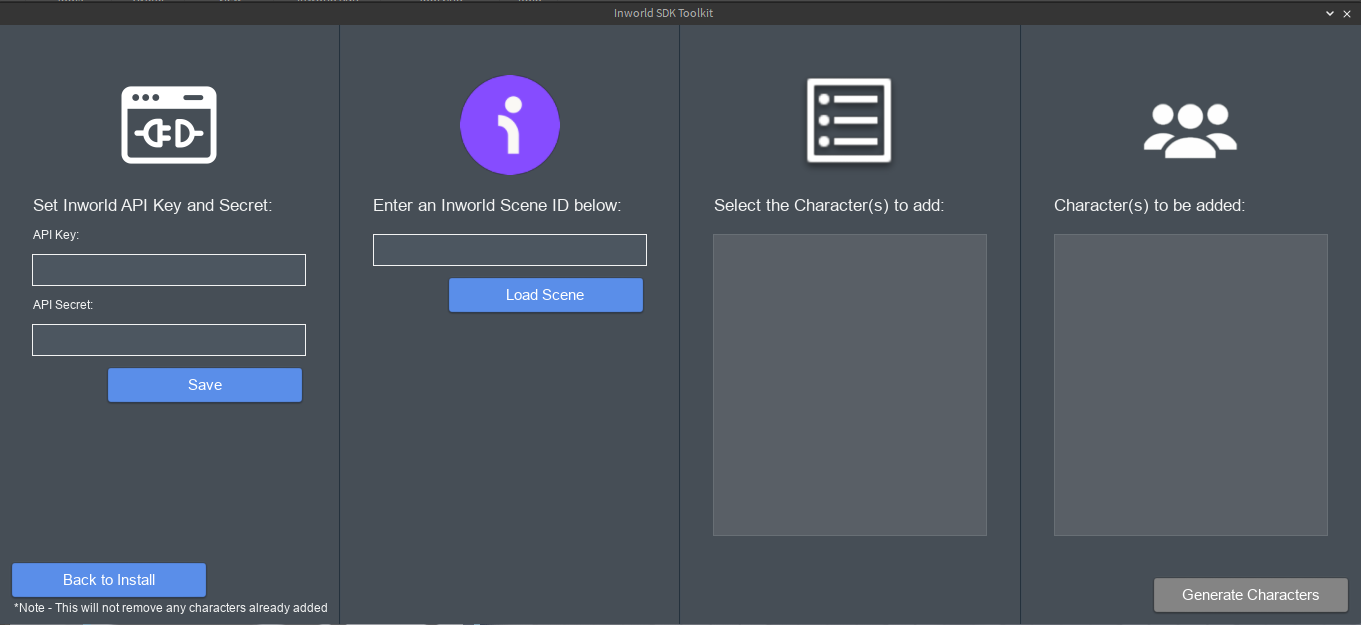
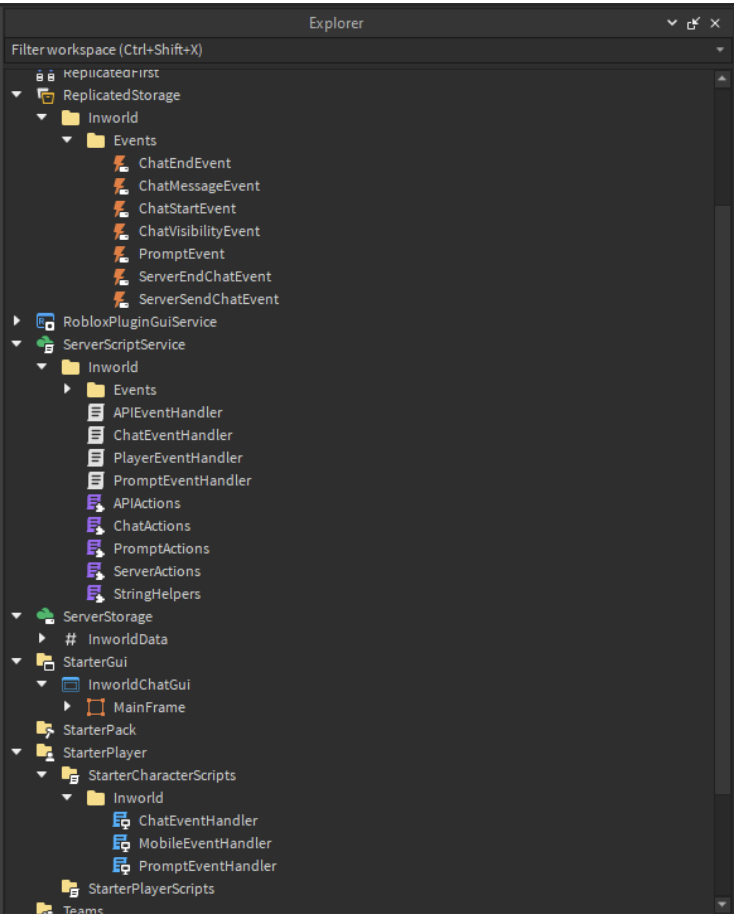
- You will also notice in the Explorer: Scripts, a GUI, Events and Data have been added to the game. These are the SDK files for chatting with the Characters.
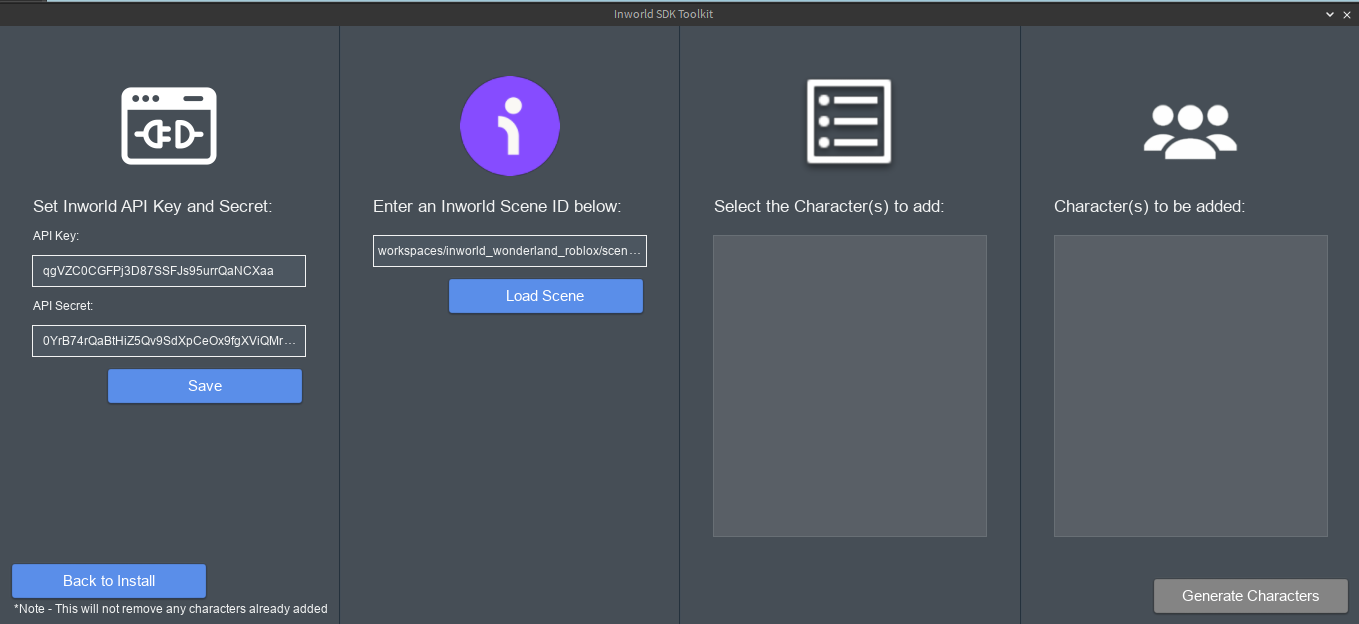
- In the Plugin, copy the API Key and Secret copied from Part 1 to the the Set Inworld API Key and Secret. Click the ‘Save’ button.

- Once setup has completed, you can start adding your Inworld Characters! Assure your web browser is open. Then, go to the Scenes section of your Inworld account. Choose a scene containing the characters you wish to add to Roblox, then click on: Copy Machine Readable ID for Integration
- Go back to Roblox Studio and in the Inworld SDK Toolkit, paste the Scene ID just copied into the space provided and click on the ‘Load Scene’ button.
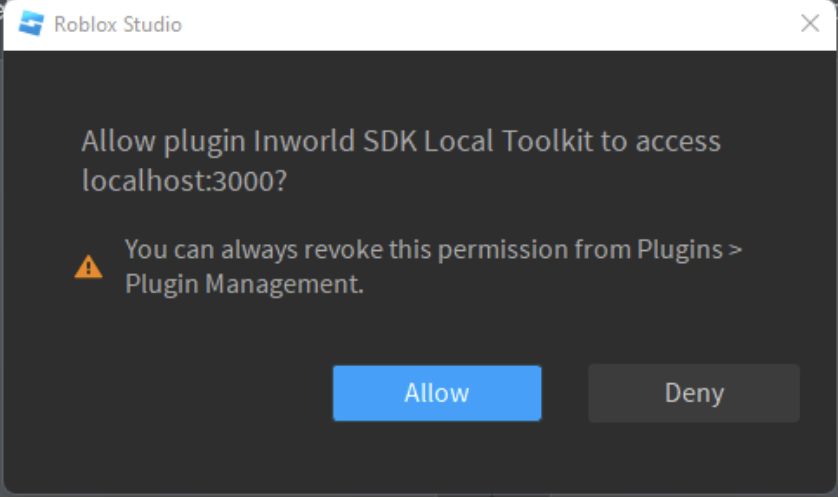
- You will see an alert to Allow localhost:3000 access from the plugin. Click on ‘Allow’ to continue. If you make a mistake and click Deny, go here Plugin Security Settings.
- You should now see a list of Characters from your scene in the list. In the example below we’ve used ‘The Caterpillar’s Mushroom’ scene and have loaded ‘The Caterpillar’.
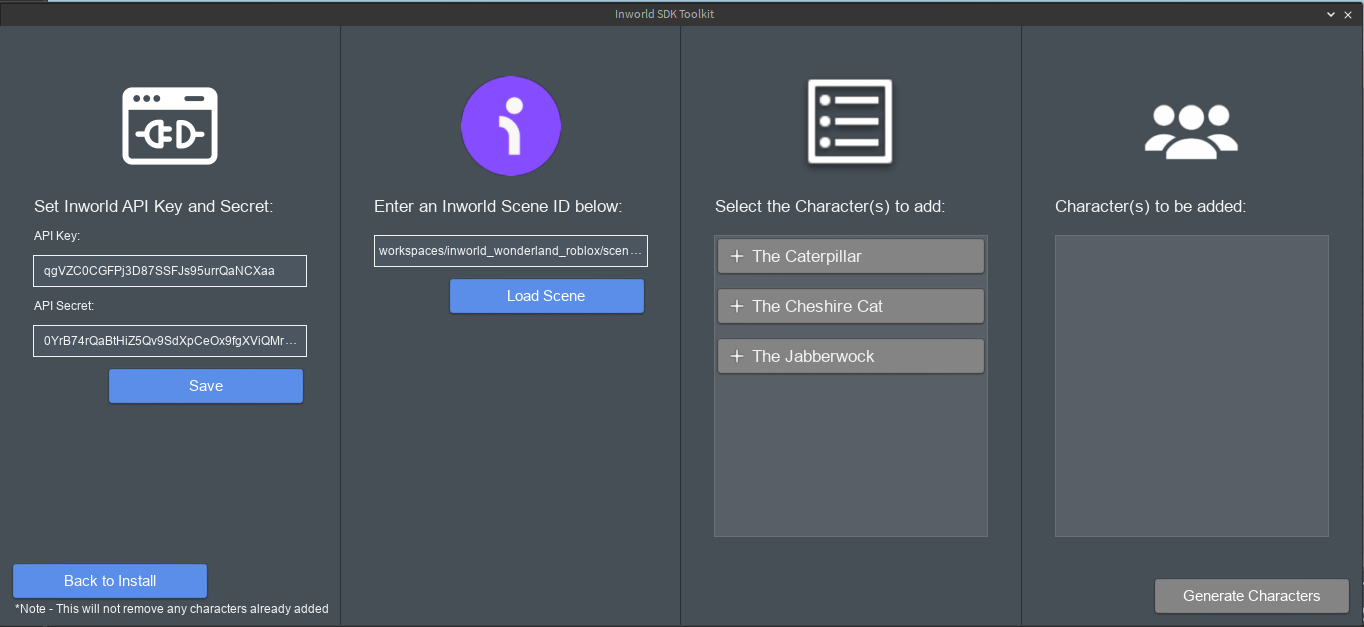
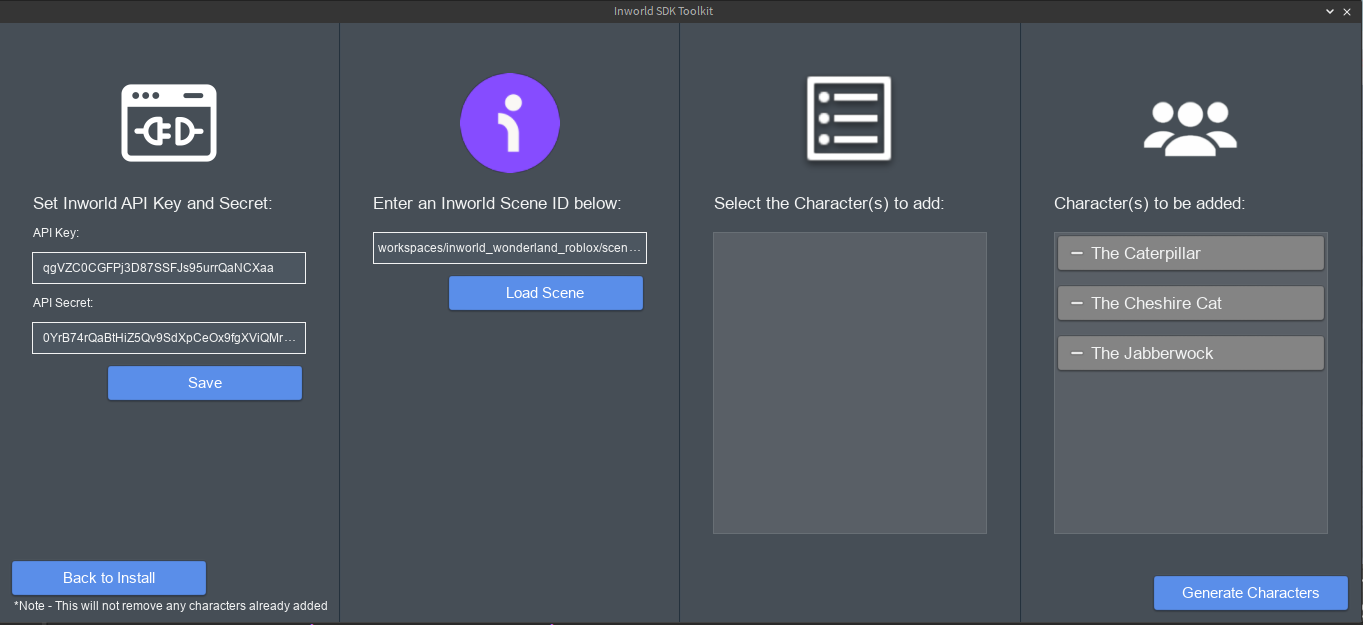
- Click on the ‘The Caterpillar’ to set it to be added to the scene. You may repeat the process to load as many scenes as you’d like to be able to generate multiple Characters. You can also come back at another time to Generate more characters. After you’ve added all the characters you want to create, click on the ‘Generate Characters’ button.
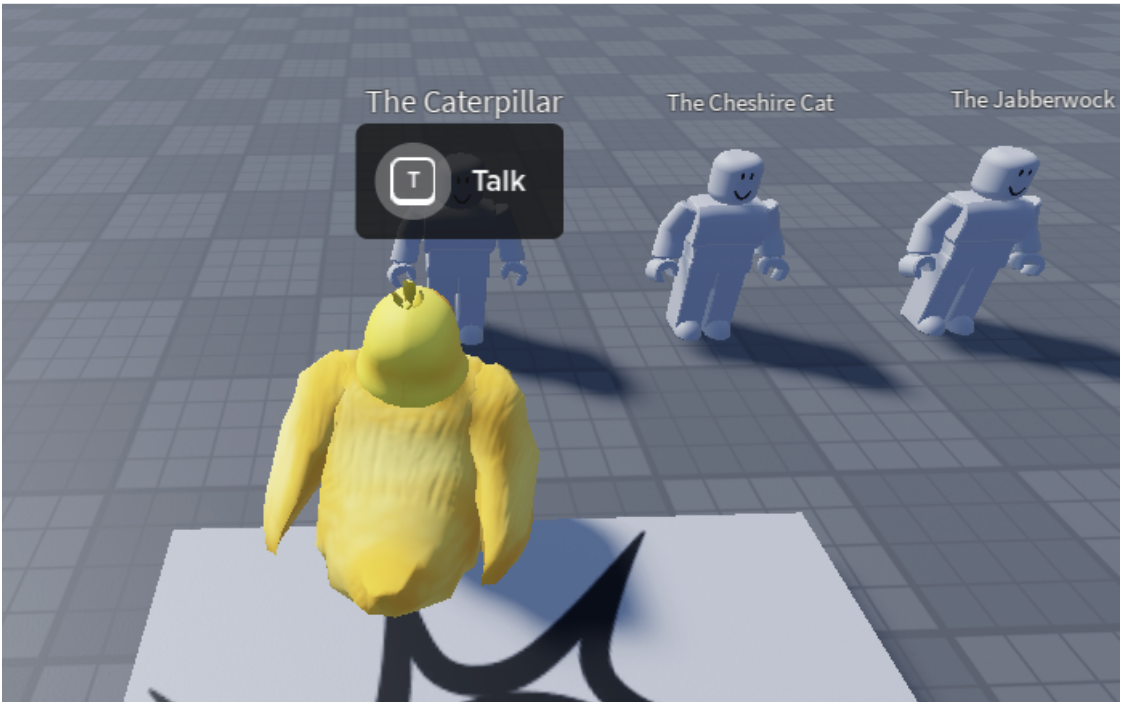
- Close the Inworld SDK Toolkit plugin. You should now see the characters have been added to the video game using a Roblox Dummy.
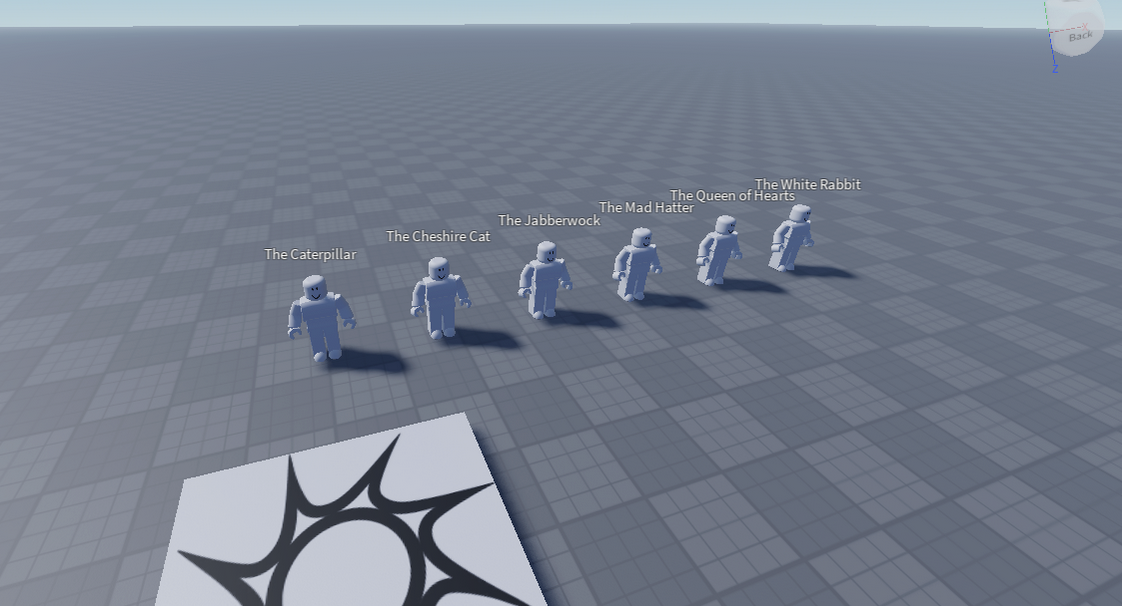
- You can test the game by running it in Studio and walk up to a character to start chatting.
- After you’ve successfully tested a chat you have finished the setup process!
Development Notes
Characters
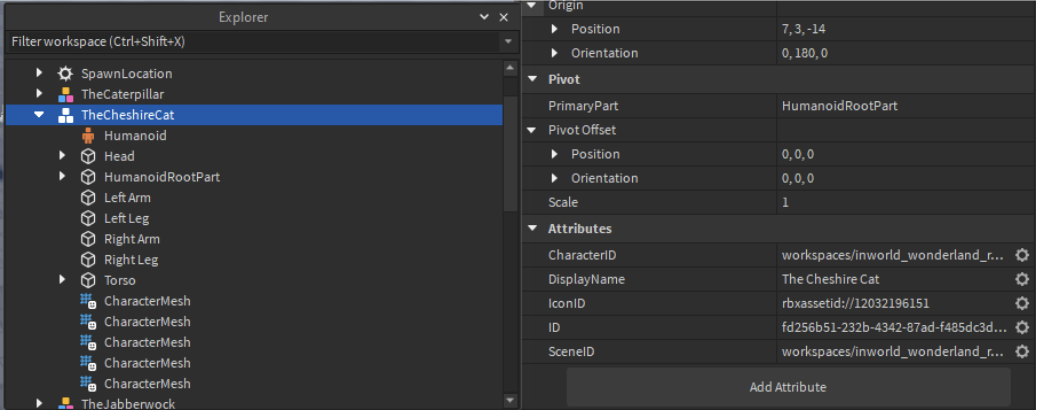
All Inworld data relating to the Characters is set as custom Attributes on the Character’s model. If you select a model, look at the Properties panel and scroll down to Attributes.
Custom Character Models
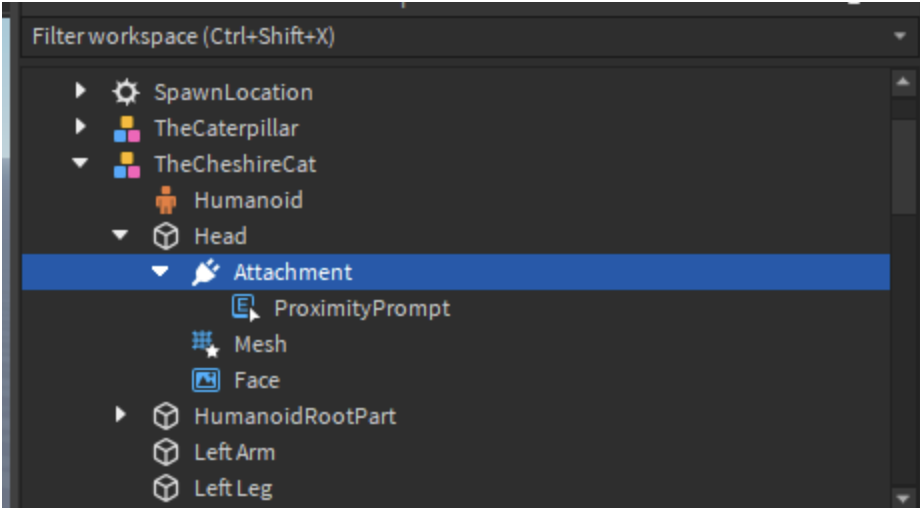
You can replace the sample Dummy model with your own custom models. To do so you must copy all the custom Character Attributes over from the Dummy as well as copy the Attachment containing a Proximity Prompt from inside the Head part of the Dummy model.
Custom Chat Icons
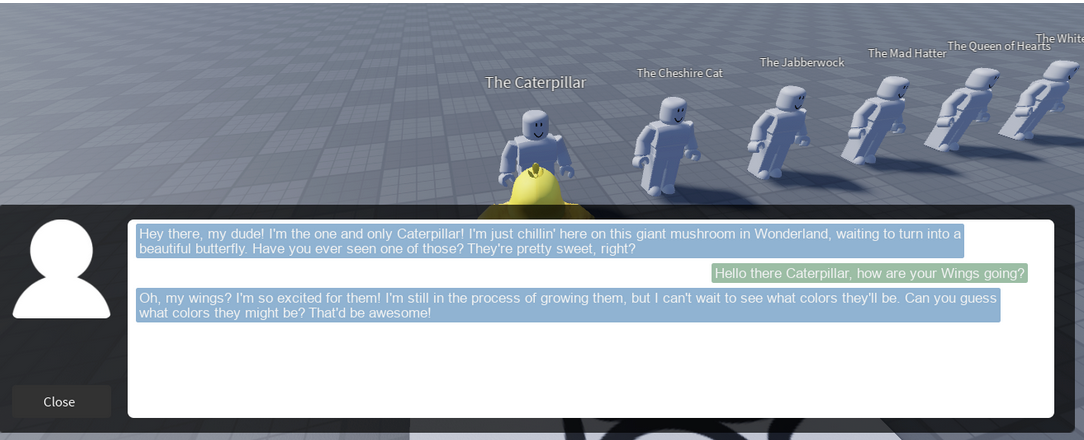
Each Character can use a custom icon for the Chat box as you see below for The Cheshire Cat. You update the Icon by selecting the Character’s model and updating the IconID Attribute with a new Roblox asset id. The image used should be square and it’s recommended not being bigger than 300 x 300 pixels.
![]()
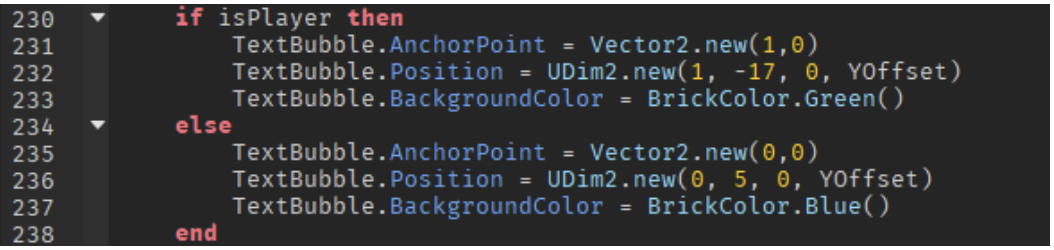
Chat GUI
The Chat GUI is mobile friendly and fluidly resizes to fit any screen. We do not recommend modifying its properties as this would likely cause the chat to not function correctly across all devices. To update the colors of the chat bubbles can be done by updating the script at StarterPlayer > StarterCharacterScripts > Inworld > ChatEventHandler. On lines 233 and 237.
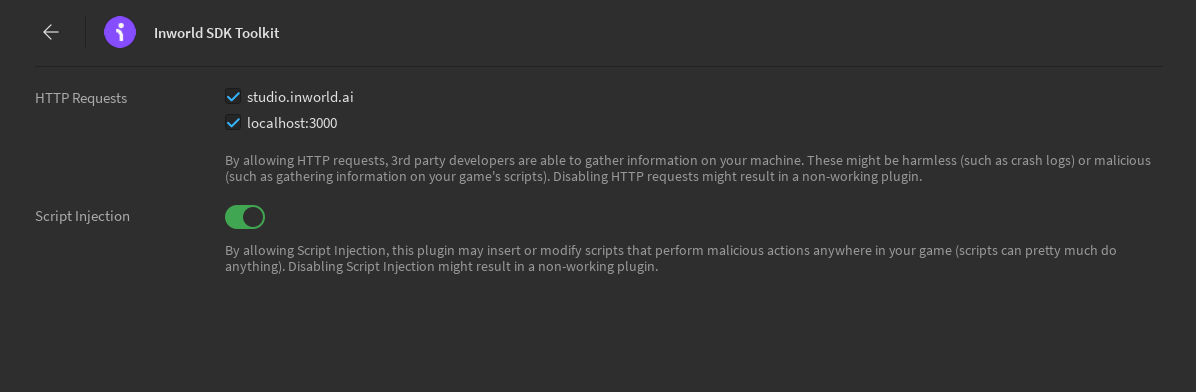
Plugin Security Settings
Note: The plugin will need to access localhost and script injection access. These are dialogs you will see during your setup process.
If you make a mistake and click deny by accident, this can be fixed by clicking on ‘Manage Plugins’. Click on the lower part of the Plugin HTTP Requests or Script Injection Allowed to bring up the settings panel. Make sure the localhost:3000 is checked and Script Injection is enabled.