Demo: Instantiating Characters at Runtime
1. Opening the Sample Scene
In the Project Panel, click Inworld > Inworld.Samples.RPM > Scenes > SampleDynamicChar to open the demo scene that showcases instantiating character at runtime.
2. Instantiate a Character
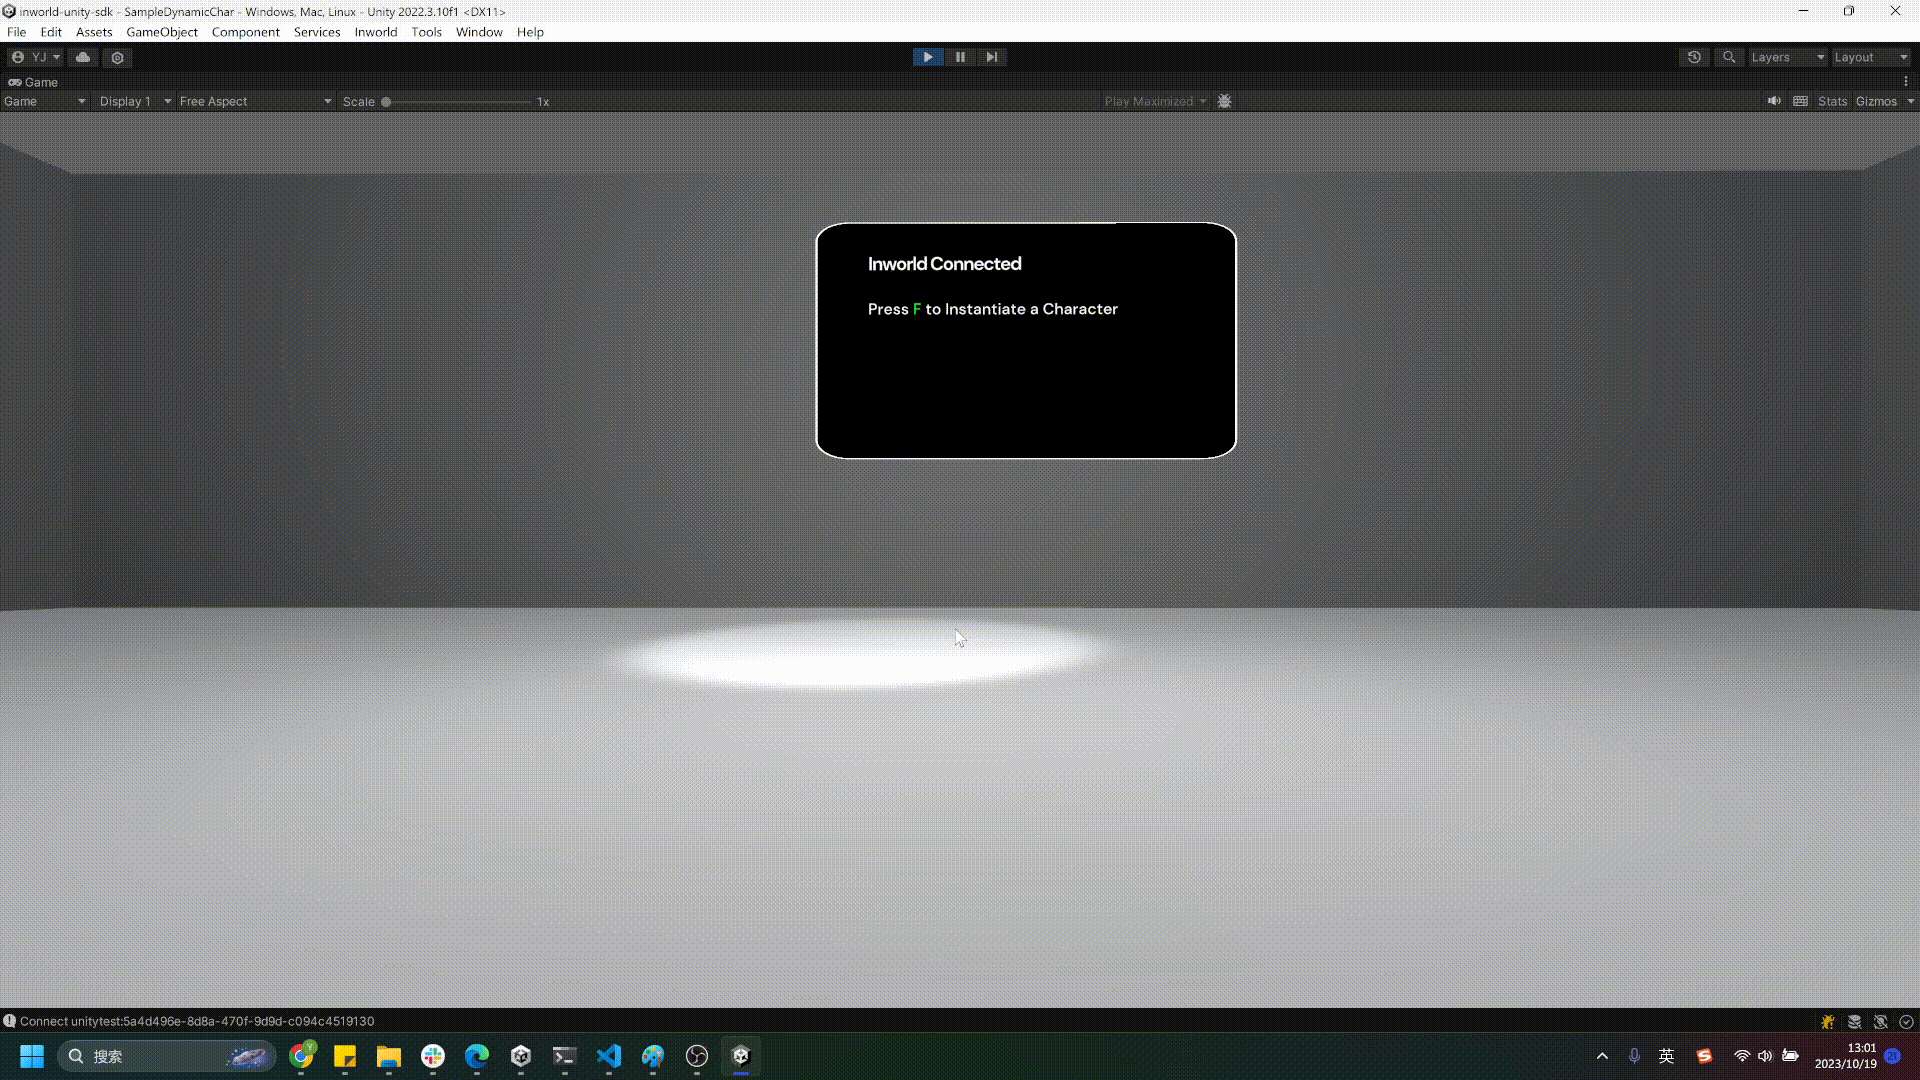
You can press F key to instantiate Alice in front of you, and you're able to talk to her.
⚠️ Note: If you pressed
Fmultiple times, the old generatedAlicewould be deleted and it'll generate a new one.
3. Live Session
In this sample scene, the code for creating a character is very simple and can be seen below:
void _CreateCharacter()
{
    if (m_CurrentCharacter)
        Destroy(m_CurrentCharacter.gameObject);
    m_CurrentCharacter = Instantiate(m_Model, m_Player.position + m_Player.rotation * Vector3.forward * m_Distance, Quaternion.identity);
    m_CurrentCharacter.RegisterLiveSession();
    InworldController.CurrentCharacter = m_CurrentCharacter;
}
To understand this code better, we need to first discuss the concept of Live Session.
When a live session is established, the Inworld server sends the Live Session ID of each character in the InworldScene to Unity.
These IDs are stored in the InworldController. Each time a new live session is started, the Live Session ID of each character changes.
It is important to have this ID for all communication with the character, including audio, text, and triggers.
For characters that are initially in the Unity scene, the ID is automatically fetched once LoadScene() and StartSession() are called in InworldController.
However, when you want to instantiate characters during runtime, to obtain the ID of your character, you need to call RegisterLiveSession() immediately after instantiated.