Create Your Experience
In this section, let's setup the environment by the character you created.
Preparation
1. Check your assets.
To integrate your own characters into your Unity project, you will need to ensure that you can access:
- At least one Workspace.
- At least one API Key in your workspace.
- At least one Character in your workspace.
- At least one Inworld Scene in your workspace.
- Ensure that your Inworld Scene contains all the Characters you need to interact with.
If you do not know how to create them, please check our Prerequisities page.
For more information, please check Studio Tutorial Series.
2. Duplicate demo scene
⚠️ Note: We strongly recommend that you do not modify our DemoScene directly, as this may cause data corruption. If you want to create your own character based on our DemoScene, please clone it.
If you want to import Inworld Character into your own scene, please skip Step 2 and Step 3.
3. Delete Current InworldController.
Our product only allows characters from the same Inworld Scene to appear in one Unity Scene. Any character that does not belong to this Inworld Scene will cause data corruption. Therefore, please delete the InworldController in the cloned Unity Scene.
4. (Optional) Change your user name.
After connecting, the Inworld AI Unity SDK will fetch your Unity UserName (most likely your email address) as the default name used in the SDK.
Please check How to change your user name for more details.
Import Characters
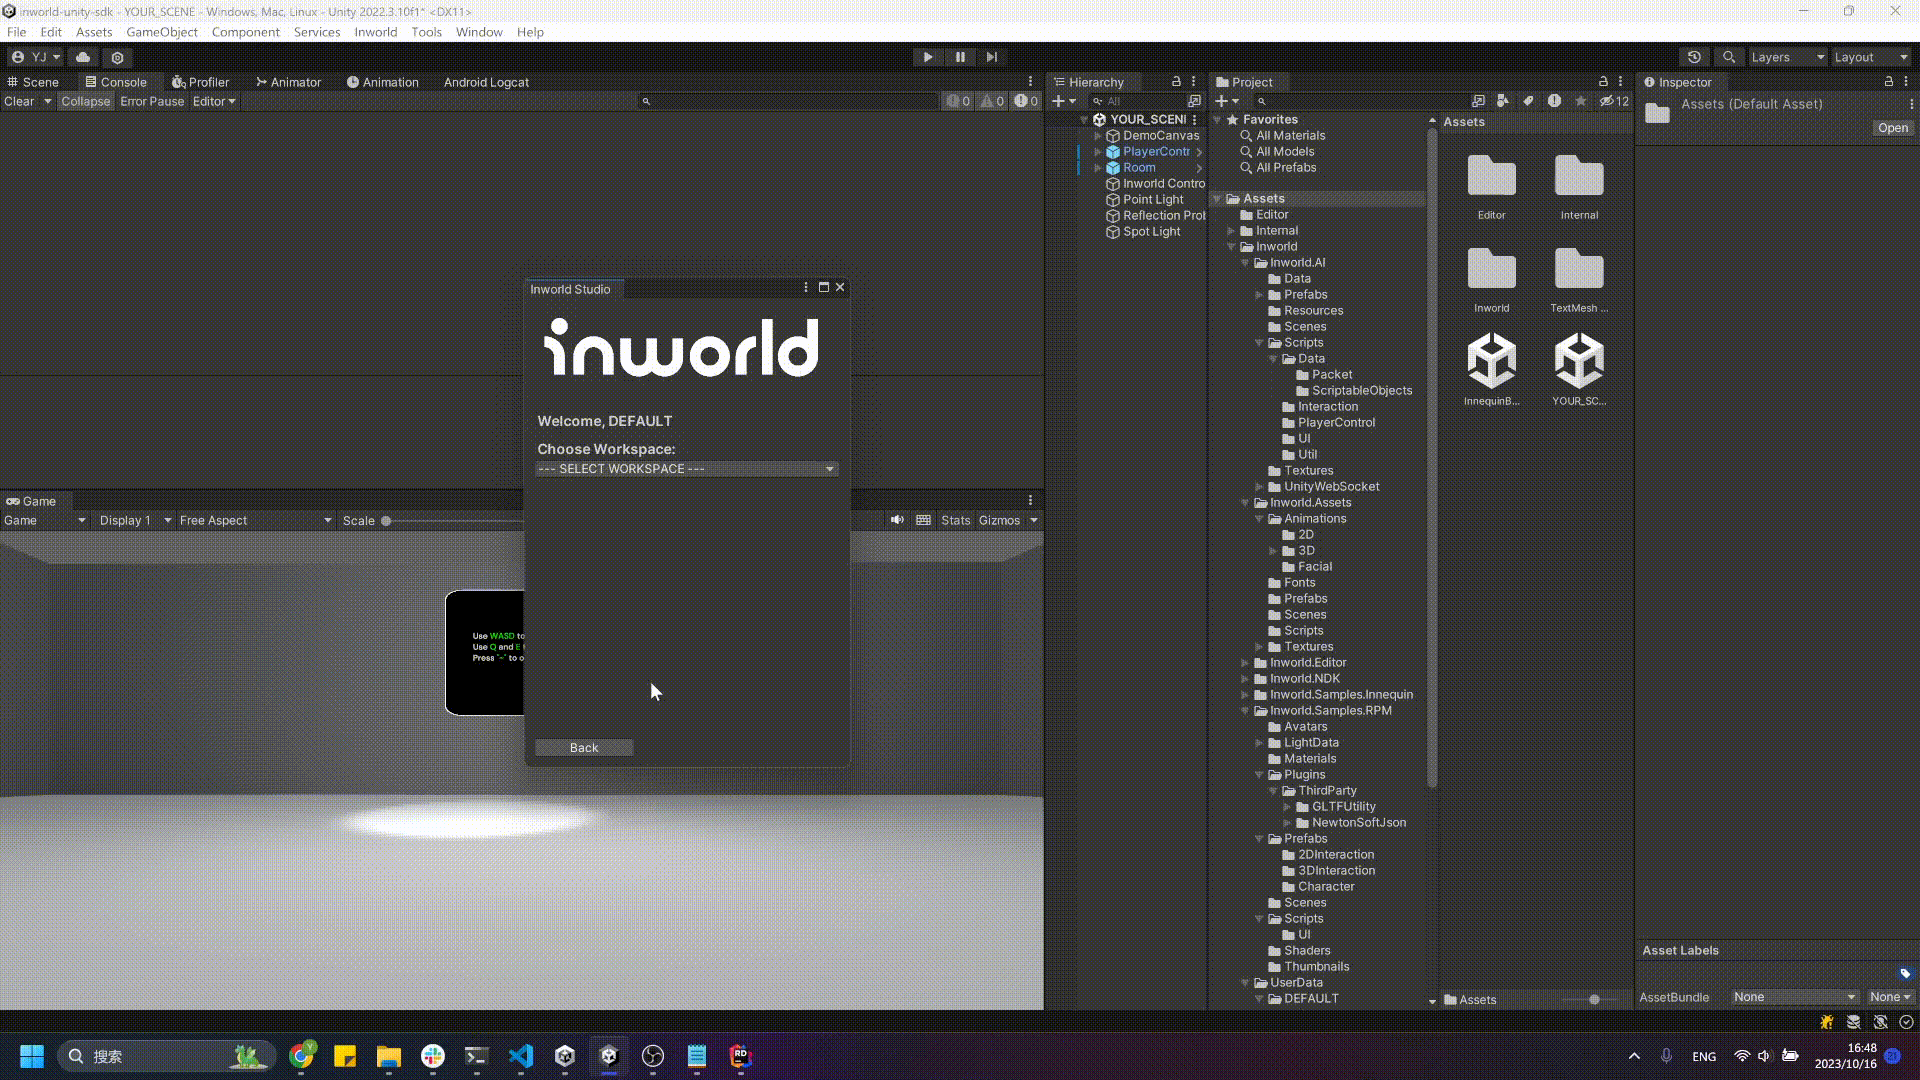
5. Login
- Open Inworld Studio Panel in Unity.
If you do not know to open Inworld Studio Panel, please check the Integrate to your Scene page.
- Click
Login. - Click
https://studio.inworld.ai - At https://studio.inworld.ai, click
Integration. - At Studio Access Token, click
Generate Studio Access Token. - Click the
Copybutton to copy it. - Back to Unity, paste the token you copied to Inworld Studio Panel.
- Click
Login.

⚠️ Note:
- The token copied this way has an expiration time for 1 hour.
- Once user logged in, This SDK will try reconnect if expired.
- If sometimes the reconnection is not working, try clicking the
Refreshbutton located at the bottom of the Inworld Studio Panel. - If the problem persists, please check your network connection and copy-paste the login token again.
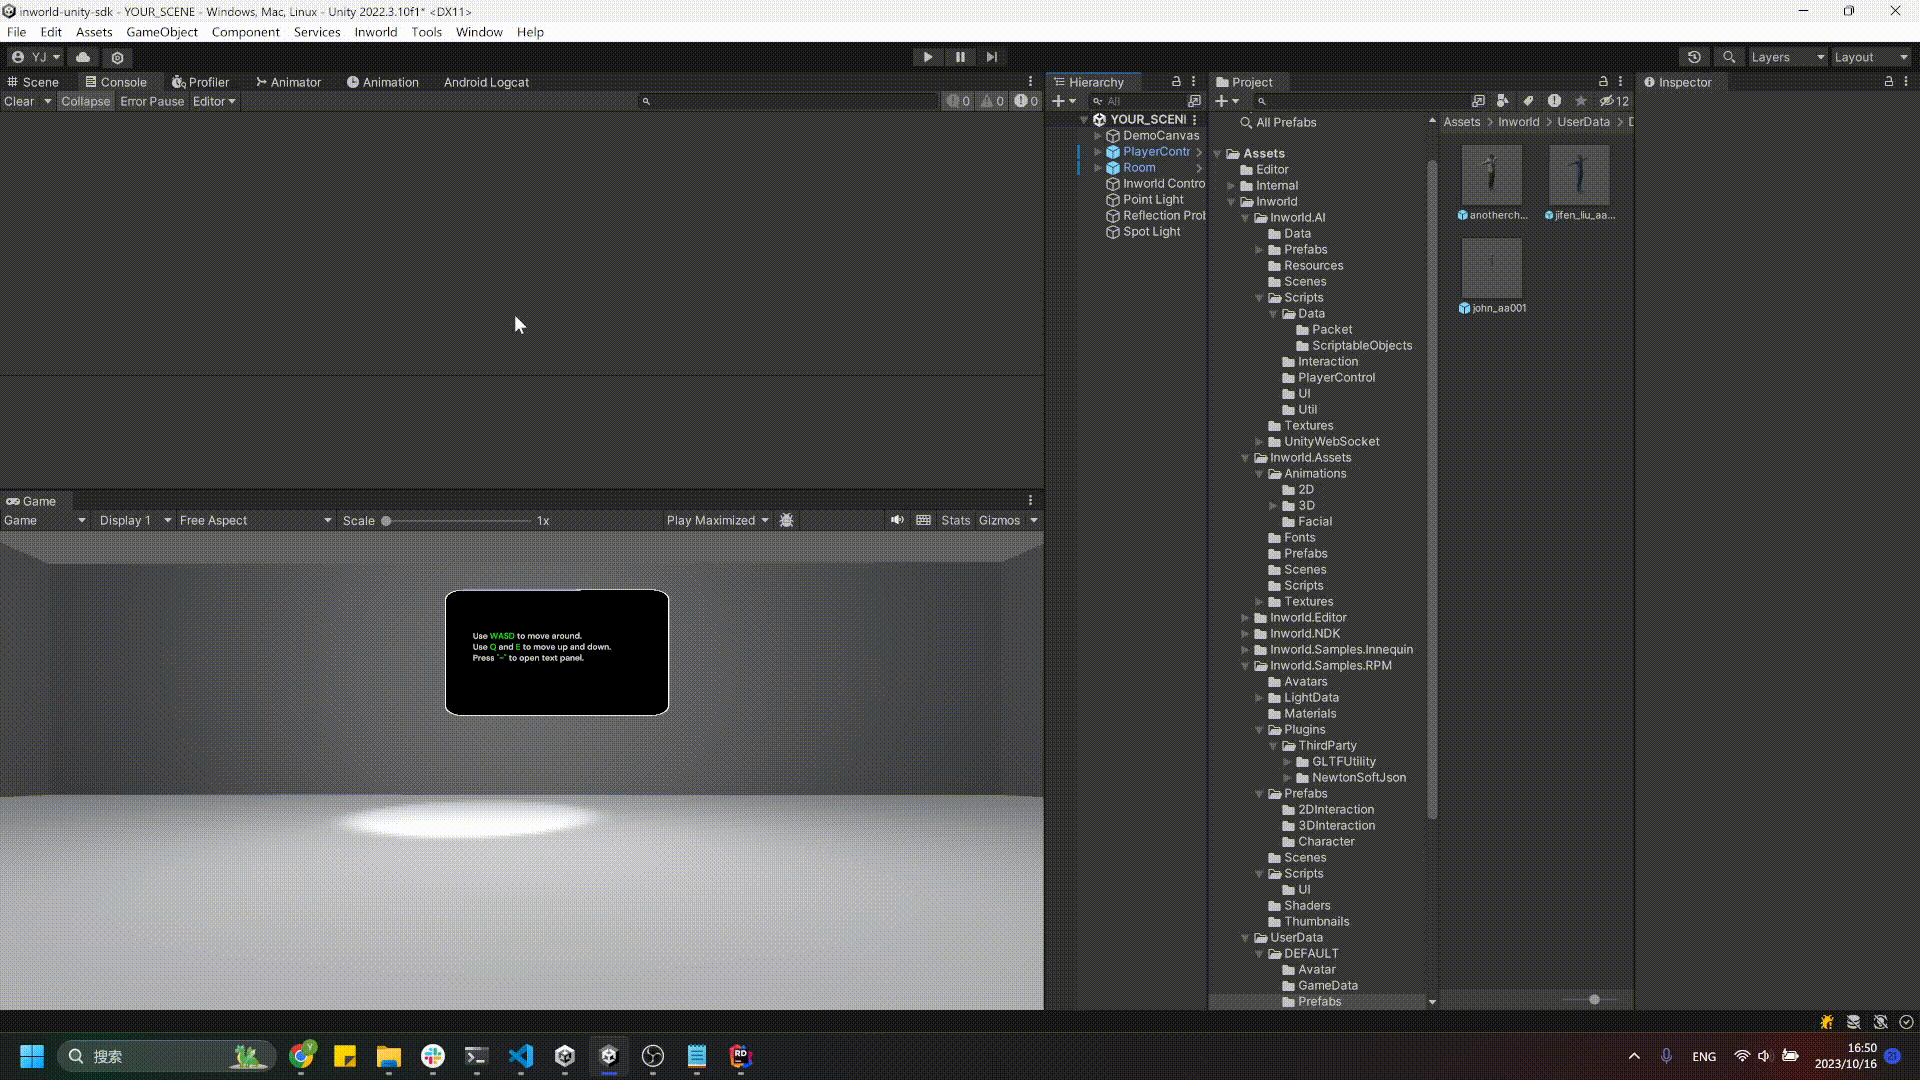
6. Select your Inworld assets.
- Once you are connected to Inworld Studio Server, you can choose your workspaces. The panel will download the data (key/scene/character references, etc) of that workspace.
- Once your workspace has been downloaded, you can select the relevant API Keys and Inworld Scenes to download the data (character thumbnails/models, etc) of that Scene.
- After that Inworld Scene has been downloaded, you can click on the thumbnail to navigate to the model and drag it into hierarchy.
- You can also click on the thumbnail to navigate to the model and drag it directly into the Unity Scene as well.
⚠️ Note:
- All the downloaded 3D models and 2D thumbnails would be saved at
Inworld.AI/{YOUR_USER_NAME}/. - All the downloaded
scriptableObjectswould be saved atInworld.AI/Resources/{YOUR_USER_NAME}/. - If you changed your name, all the data above would be downloaded to new folders.
- All the InworldCharacters that do not belong to the current InworldScene would be deleted. For more information, please check the getting-started page.
Next steps.��
7. Check data integrity
Once you have loaded the InworldCharacter into the scene, please check if the following is correct:
- There is an
InworldControllerin the hierarchy, it contains the correctInworldSceneDatain its Data Field. - The
InworldControlleralso contains anInitInworldscript, which sets all the correctInworldWorkspaceData,InworldSceneData, andInworldKeySecret.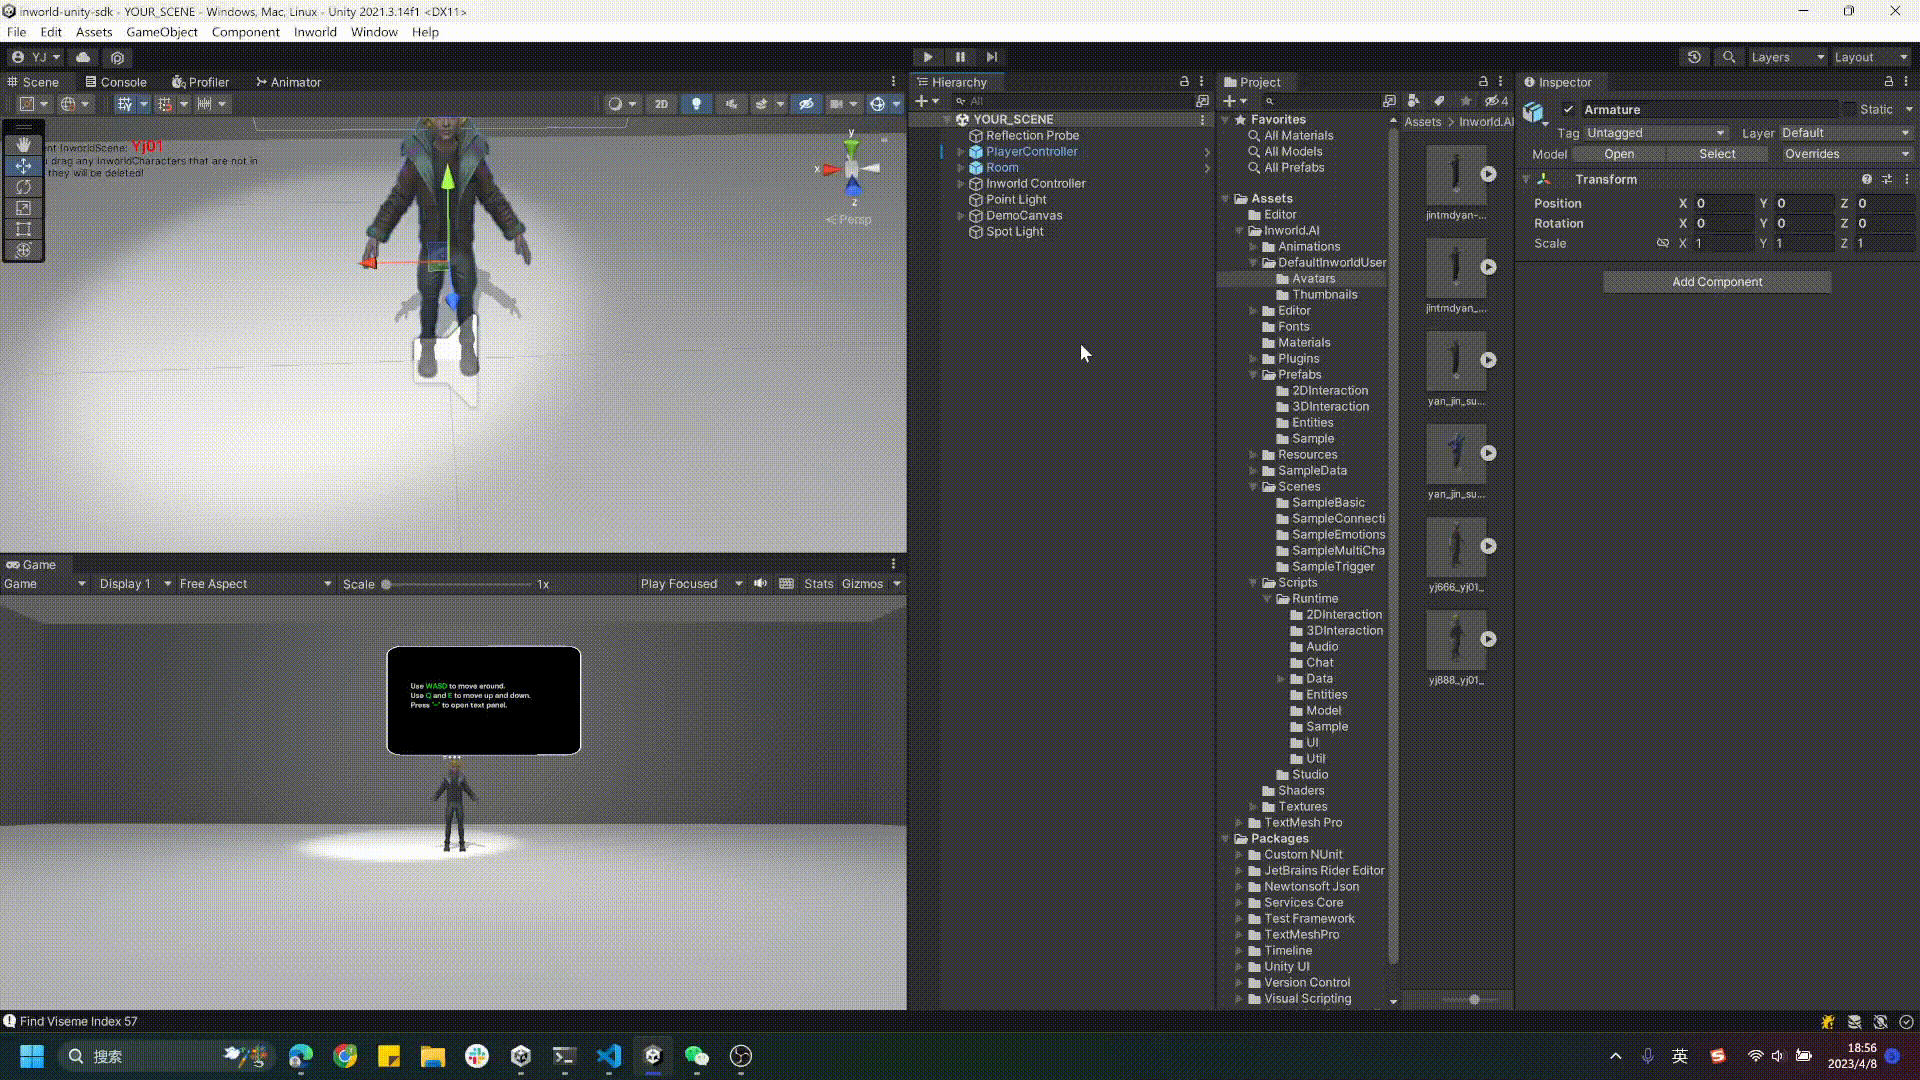
Once all the data you have checked is correct, you can continue from step 3 of the Integrate to your Scene page.