Integrate Inworld to your Scene
Our Unity Integration package comes with two sample InworldScenes and three sample InworldCharacters that you can interact with immediately without requiring authentication.
The InworldScene celeste-spaceship contains the character Celeste, and the InworldScene olympus-theatre contains the characters Zeus and Hermes. In this section, we will set up the environment step-by-step.
1. Opening the Inworld Studio Panel
There are two ways to open the Inworld Studio Panel:
- From the top menu, click
Inworld>Studio Panel. - Right-click anywhere inside the
Assetsfolder, then clickInworld Studio Panel.
⚠️ Note: The Inworld AI Unity SDK requires "Text Mesh Pro", which is inside Unity but not imported by default. If it is the first time you are opening the
Inworld Studio Panel, please clickImportif the dialog for the Text Mesh Pro
2. Choosing Your Scene and Character
There is a drop down field for you to switch InworldScenes. When switching InworldScenes, all characters will also be replaced.
If you click the thumbnail of an InworldCharacter, Unity will navigate to the model you have selected. You can then drag the model into the Unity Scene. When you release the drag, the data and components will be installed onto the avatar.
Additionally, after version 2.0.3, you can also drag the model into Hierarchy Panel to perform the same action.

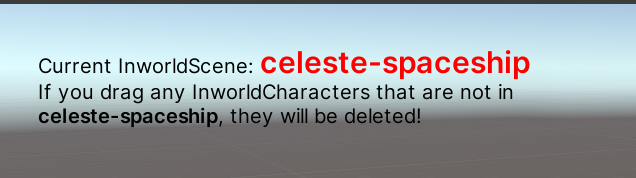
⚠️ Note: Whenever you drag an InworldCharacter into a Unity Scene, all the InworldCharacters that do not belong to the current InworldScene will be deleted.
If the InworldCharacter that you are dragging does not belong to the current scene, then it will be deleted. By default, the current scene will be displayed as a gizmos in Scene View.
3. Configure Characters in the Scene
Once the InworldCharacter gameObject is in the scene, you can modify it. Besides Unity's normal features, e.g., Translating and Rotating, you can adjust the character's field of view and/or sight distance.
⚠️ Note: After you drag the avatar into the Unity Scene, you need to click the object in the
Hierarchyto proceed with the operations above.
4. Add a Player Controller
InworldCharacters can only be communicated with by InworldController's Inworld Player gameObject, which can be set to any type of gameObject. If you have not implemented your own Player Controller, you can simply click Add Player Controller into Scene to generate one.
⚠️ Note: The PlayerController prefab made by Inworld AI contains a
main camera. By adding a PlayerController, you will delete the currentmain camerain your scene. The prefab also contains anEventSystem. Please ensure that there is only oneEventSystemin your scene if you have already created one.
If you have implemented your own logic for player control, then you can drag that gameObject into InworldController's InworldPlayer field.
An InworldController will be generated whenever an InworldCharacter is dragged into the scene. It is a Singleton gameObject, so you should ensure that there is only one copy in your scene.

⚠️ Note: Beginning with the Inworld Unity SDK 2.0.3, you can add an Inworld Player without opening the Inworld Studio Panel. To do so, you can simply right-click anywhere in the
Hierarchyview and clickInworld>Add>Inworld Player. This will automatically add an Inworld Player and an Inworld Controller if they do not already exist in the scene.
5. Runtime
Congratulations, you're all set! Now, let's click the Play button:
Please note the following if you are using our default PlayerController:
- You can use the
WASDkeys to move around - You can use the
QEkeys on your keyboard to move up and down - By single-clicking the Left Mouse Button, you can look around
- You can talk to the character that you are looking at using the microphone
- You can click the
~key to open a text panel. This allows you to type text or hold the record button to send verbal responses